魔乐社区大模型挑战赛
本文基于比赛中实际操作步骤,如有不足之处,请在评论区予以指正。
一、算力申请
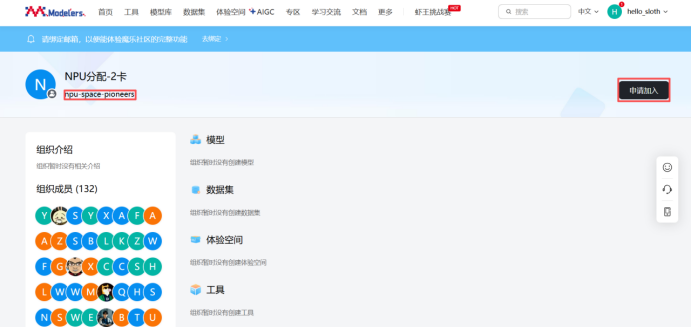
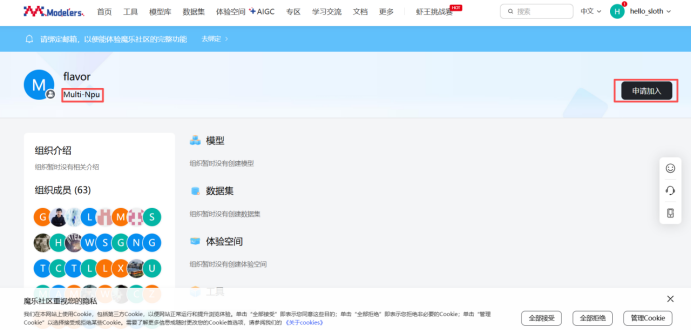
访问地址:https://modelers.cn/user/npu-space-pioneers和https://modelers.cn/user/Multi-Npu申请加入NPU算力分配和多卡系统组织,运营审核通过后则会拥有2卡NPU算力。
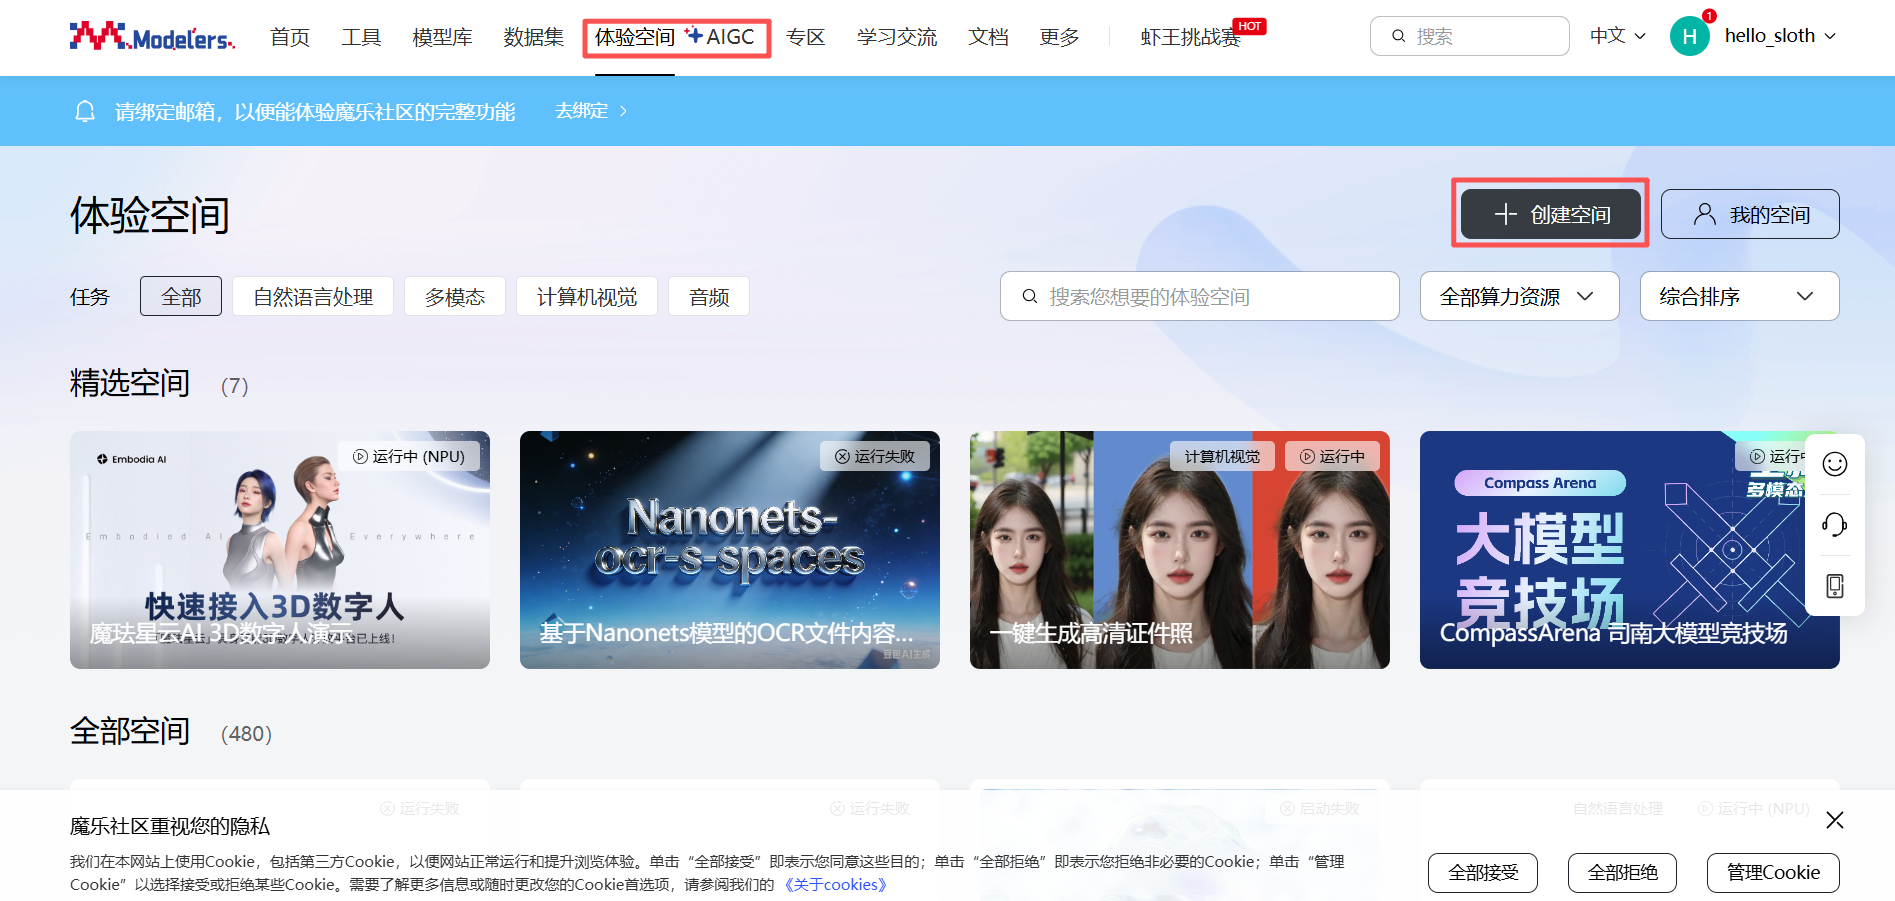
二、空间构建
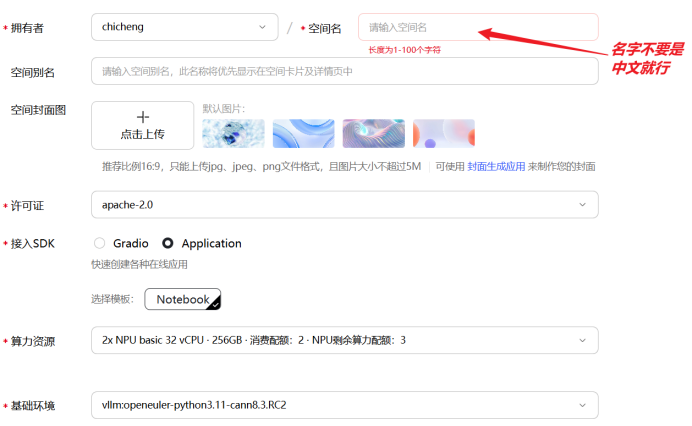
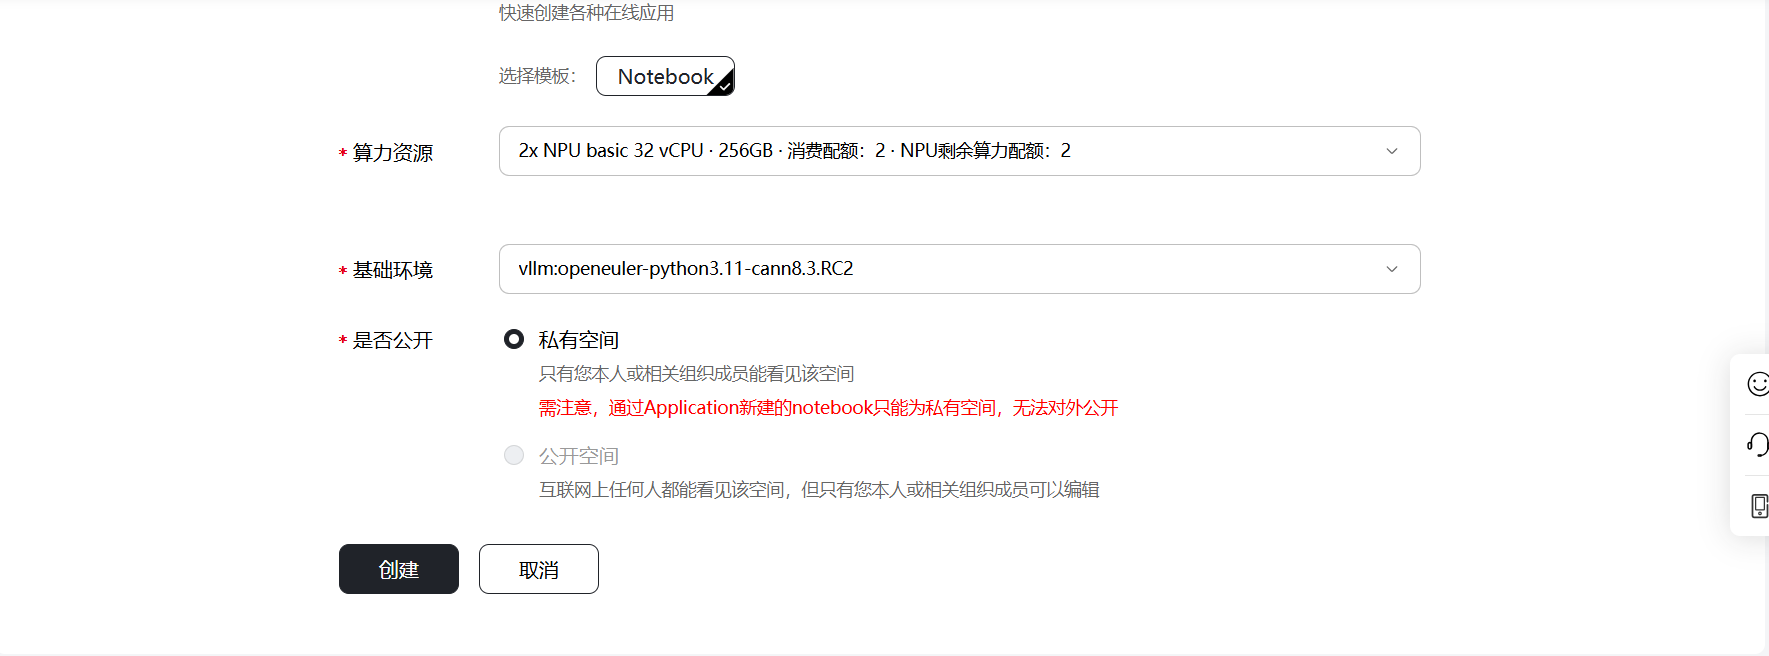
点击魔乐社区的体验空间模块,然后点击创建空间,输入“拥有者”和“空间名”,选择许可证类型和继而SDK方式,算力资源选择申请好的“2x NPU basic 32 vCPU · 256GB”,基础环境选择“vllm:openeuler-python3.11-cann8.3.RC2”,点击“创建”后,空间开始构建。
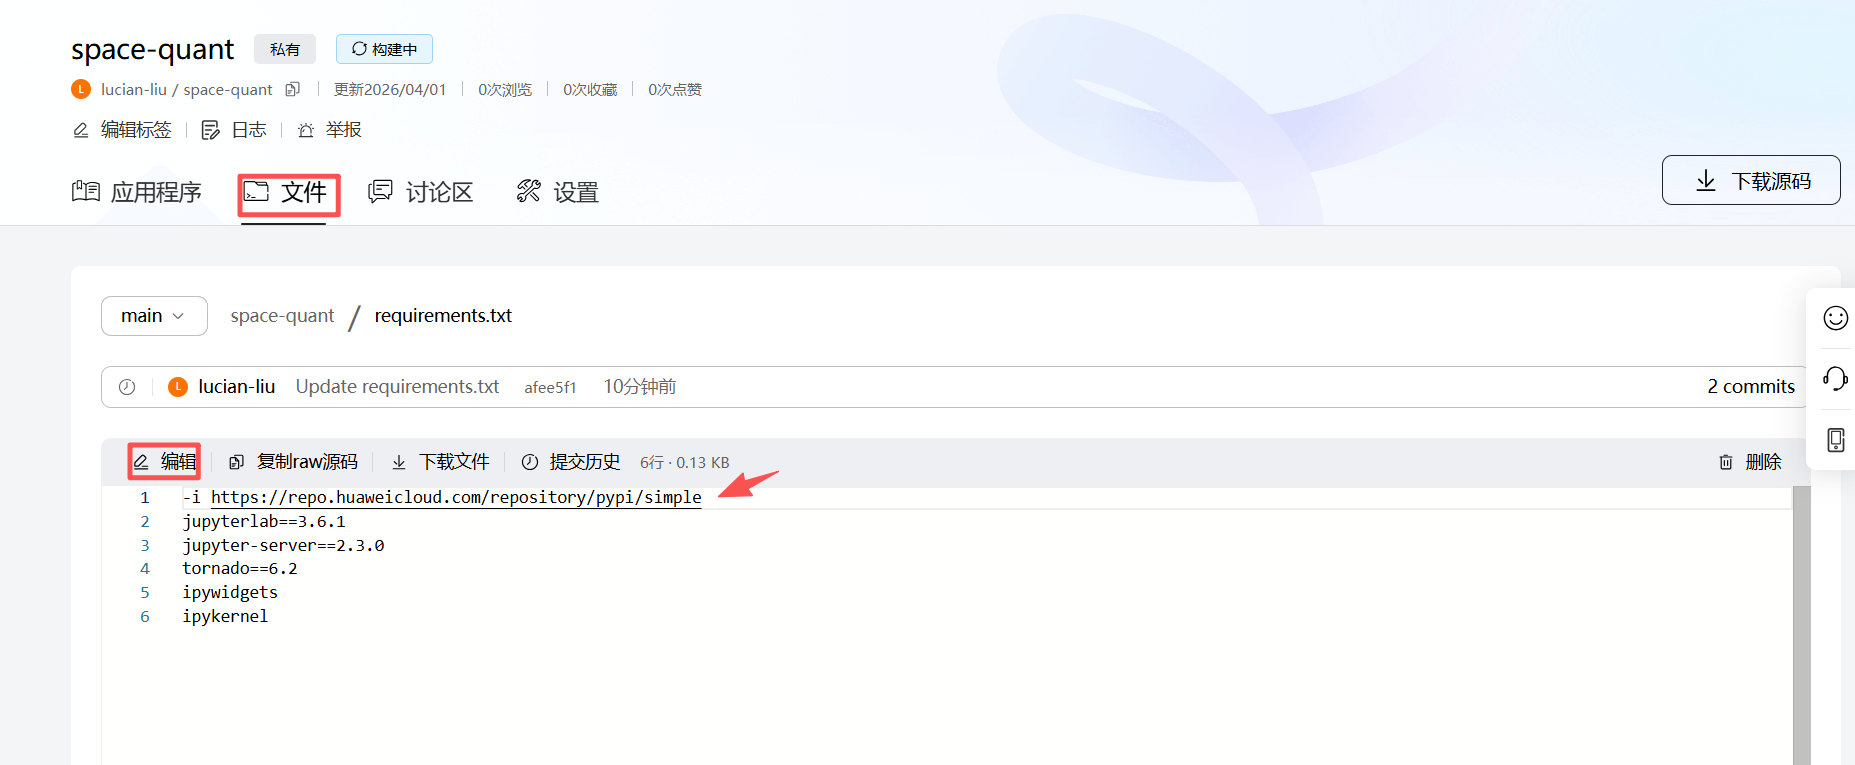
注意:由于网络原因,镜像无法下,会导致空间构建失败,可通过修改requirements.txt文件解决。

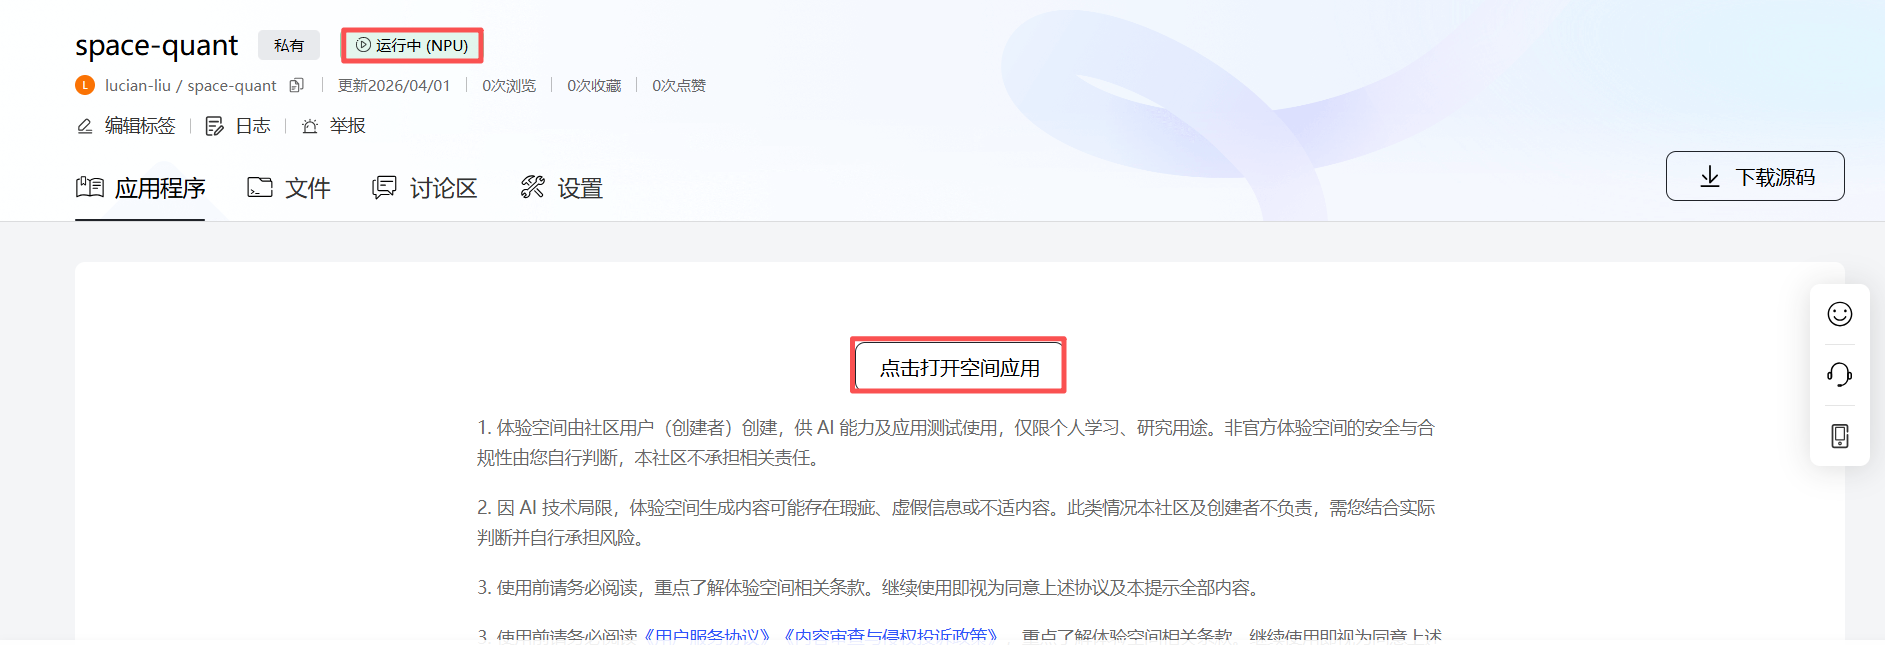
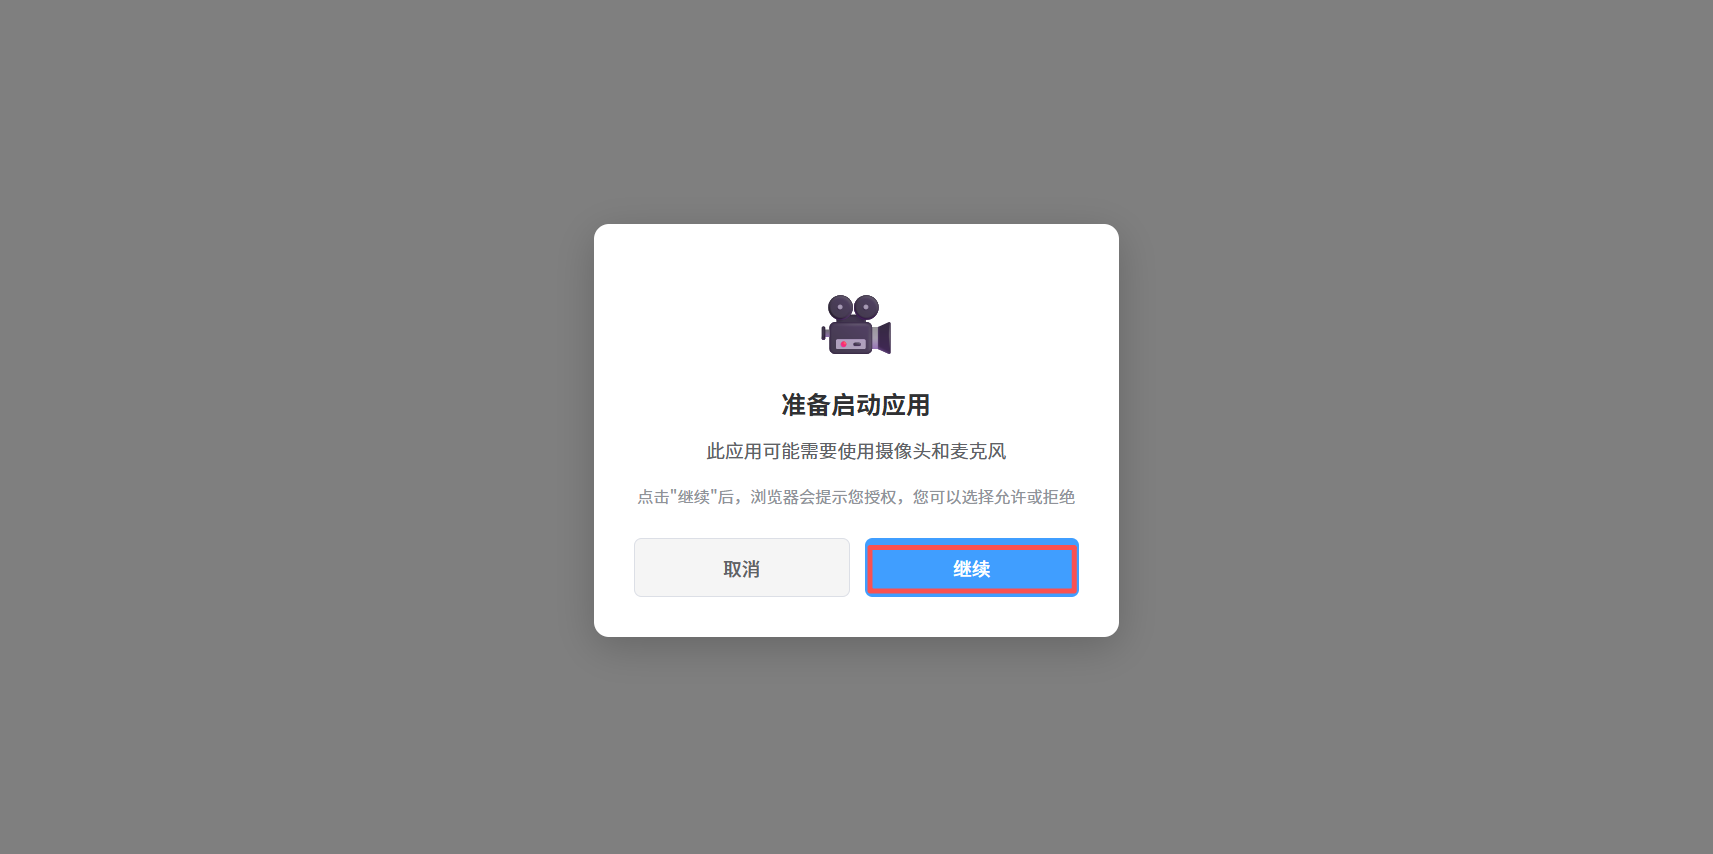
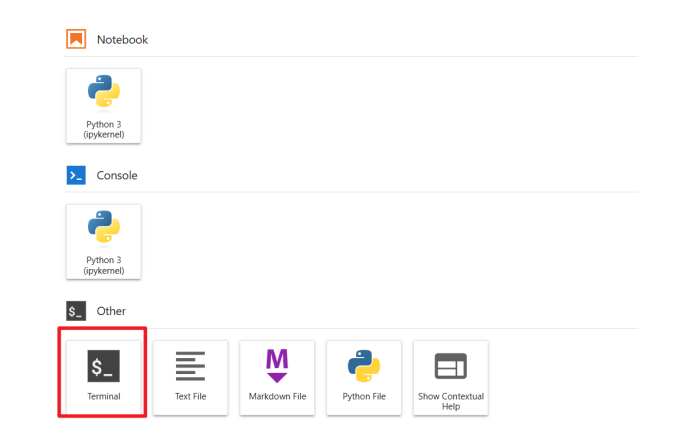
当空间状态变更为“运行中”,说明构建成功,依次点击“打开空间应用” -> “继续” -> 输入令牌 “openMind” -> "确认",页面加载几秒后,出现Notebook的启动页面,点击“Terminal”进入控制台。

三、环境安装
1. Miniconda安装
1.1. 清除当前shell会话中的PYTHONPATH环境变量
执行命令:unset PYTHONPATH
1.2. 下载miniconda
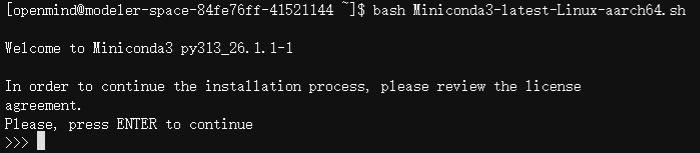
执行命令:wget https://repo.anaconda.com/miniconda/Miniconda3-latest-Linux-aarch64.sh (默认下载到/home/openmind)
1.3 安装miniconda
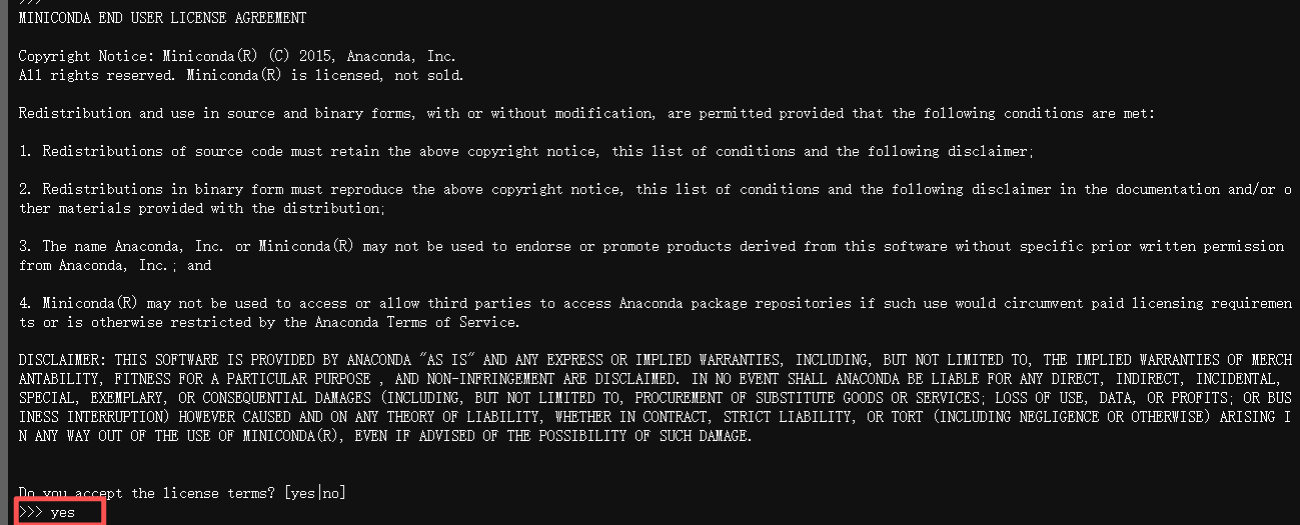
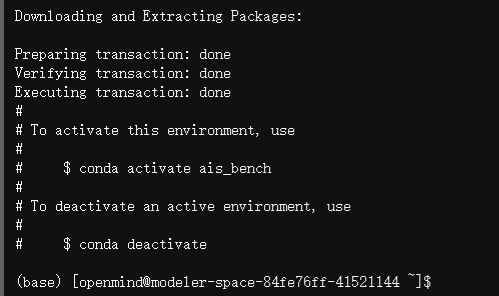
执行命令:bash Miniconda3-latest-Linux-aarch64.sh,依次按回车 -> 输入"yes" -> 按回车 -> 输入“yes”后,在结尾显示“Thank you for installing Miniconda3!”说明安装成功,安装目录为/home/openmind/miniconda3。
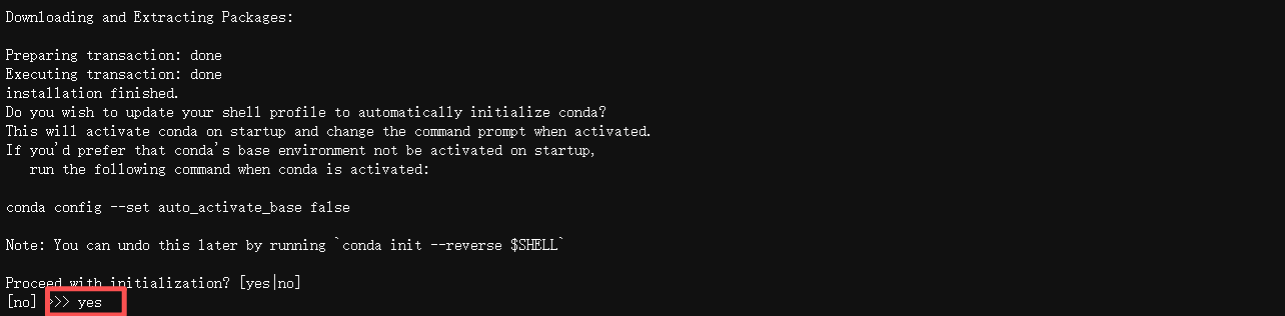

执行命令:source ~/.bashrc ,加载conda配置,可通过命令:conda -V,验证是否成功加载。

执行命令:conda config --set auto_activate_base false,关闭自动激活base环境

执行命令:conda tos accept --override-channels --channel https://repo.anaconda.com/pkgs/main ,接受main通道的条款。

执行命令:conda tos accept --override-channels --channel https://repo.anaconda.com/pkgs/r ,接受r通道的条款

执行命令:conda create --name ais_bench python=3.11 -y ,创建ais_bench虚拟环境,并指定python版本为3.11
执行命令:conda activate ais_bench ,激活ais_bench虚拟环境

执行命令:conda config --add channels https://repo.huaweicloud.com/ascend/repos/conda/ ,添加华为云conda镜像源

执行命令:pip config set global.index-url https://repo.huaweicloud.com/repository/pypi/simple ,添加华为云pip镜像源

1.4 安装cann8.5
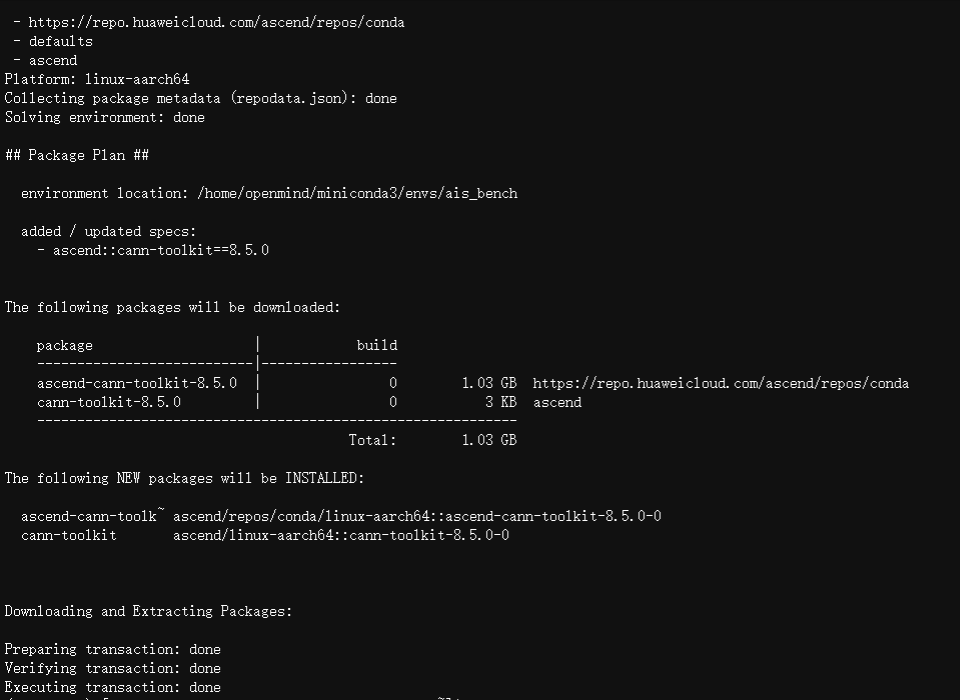
执行命令:conda install ascend::cann-toolkit==8.5.0 -y ,安装昇腾AI软件开发工具包
注意:为了防止后面的安装出现冲突,需要依次执行以下命令,加载环境变量并使其生效。
source /home/openmind/miniconda3/envs/ais_bench/Ascend/ascend-toolkit/set_env.sh
source /home/openmind/miniconda3/envs/ais_bench/Ascend/cann-8.5.0/set_env.sh
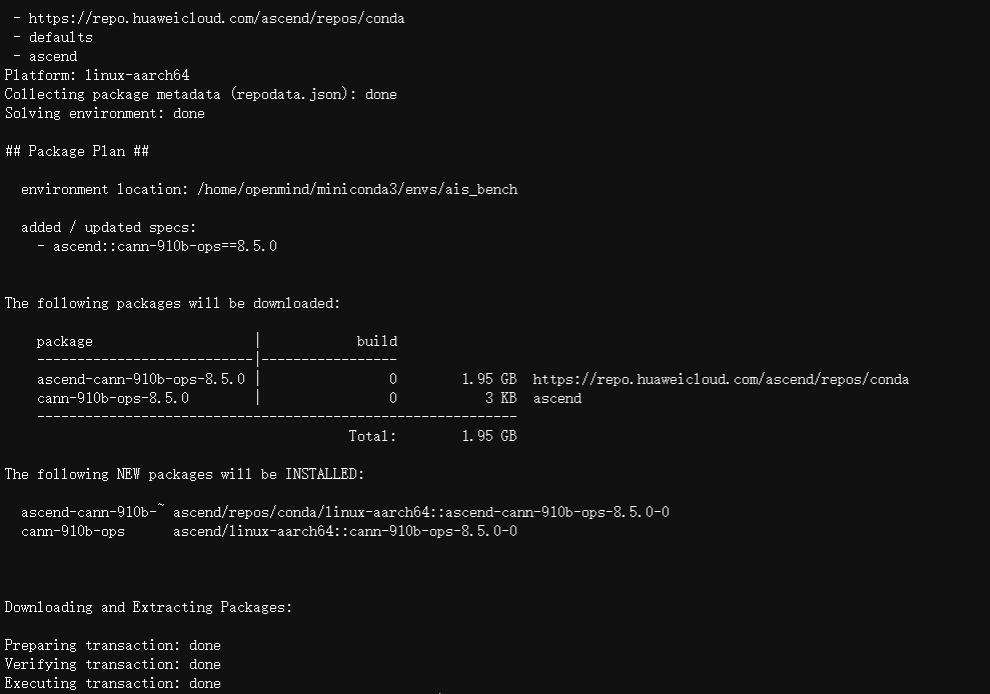
执行命令:conda install ascend::cann-910b-ops==8.5.0 -y ,安装昇腾910B NPU平台ops-transformer算子
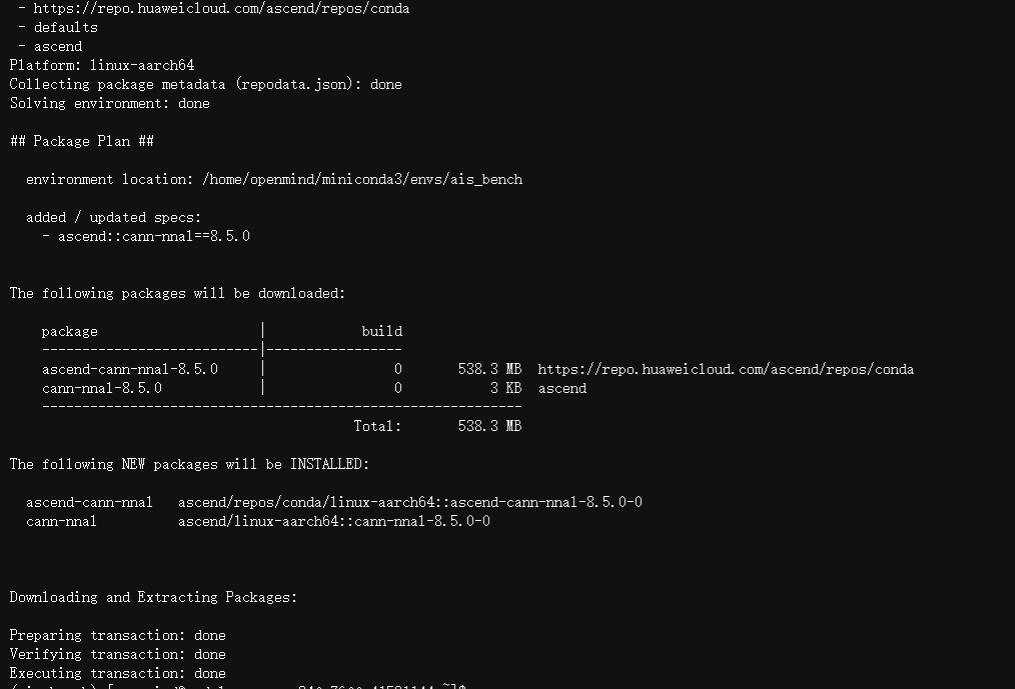
执行命令:conda install ascend::cann-nnal==8.5.0 -y ,安装ARM平台加速库软件包
注意:为了后续量化成功,需执行以下命令,加载环境变量使其生效
source /home/openmind/miniconda3/envs/ais_bench/Ascend/nnal/atb/set_env.sh
1.5 安装vllm
执行命令:cd ~ ,进入当前用户所在根目录
执行命令:git clone https://gh.llkk.cc/https://github.com/vllm-project/vllm.git ,下载vllm项目源码

执行命令:cd vllm, 进入到项目工程文件夹
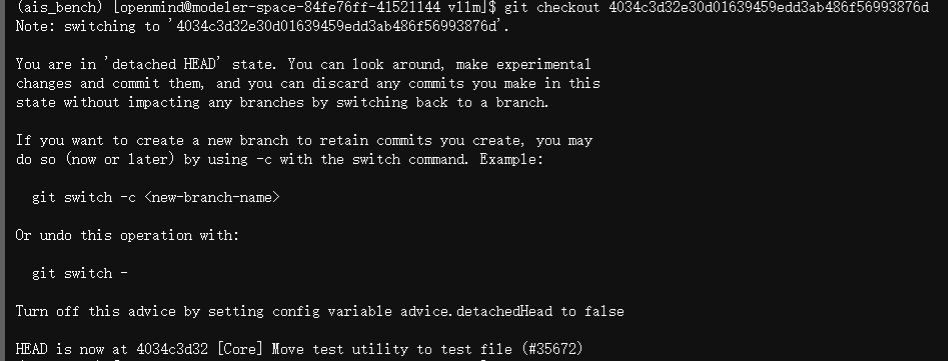
执行命令:git checkout 4034c3d32e30d01639459edd3ab486f56993876d ,检出对应版本
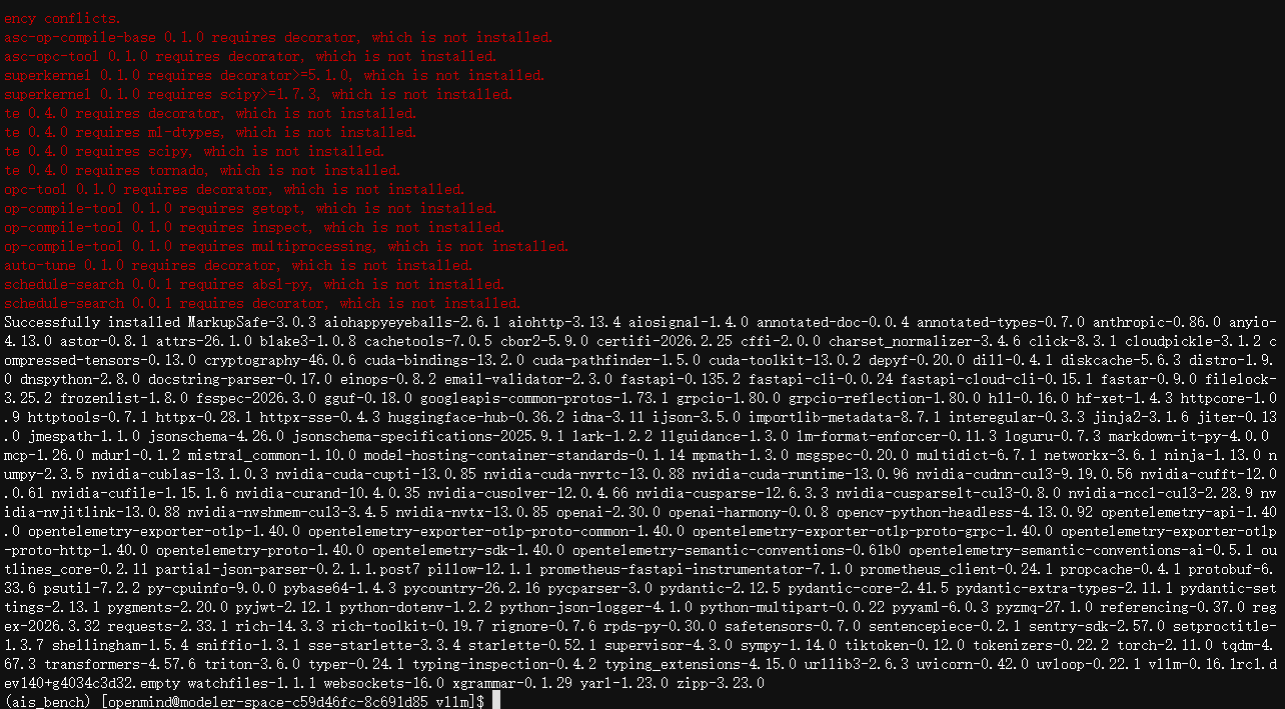
执行命令:VLLM_TARGET_DEVICE=empty pip install -v -e . ,安装vllm软包
1.6 安装vllm-ascend
执行命令:cd ~ ,进入当前用户所在根目录
执行命令:git clone https://gh.llkk.cc/https://github.com/starmountain1997/vllm-ascend.git ,下载vllm-ascend项目源码

执行命令:cd vllm-ascend, 进入到项目工程文件夹
执行命令:git checkout w4a8-division-by-zero-fix ,检出对应版本

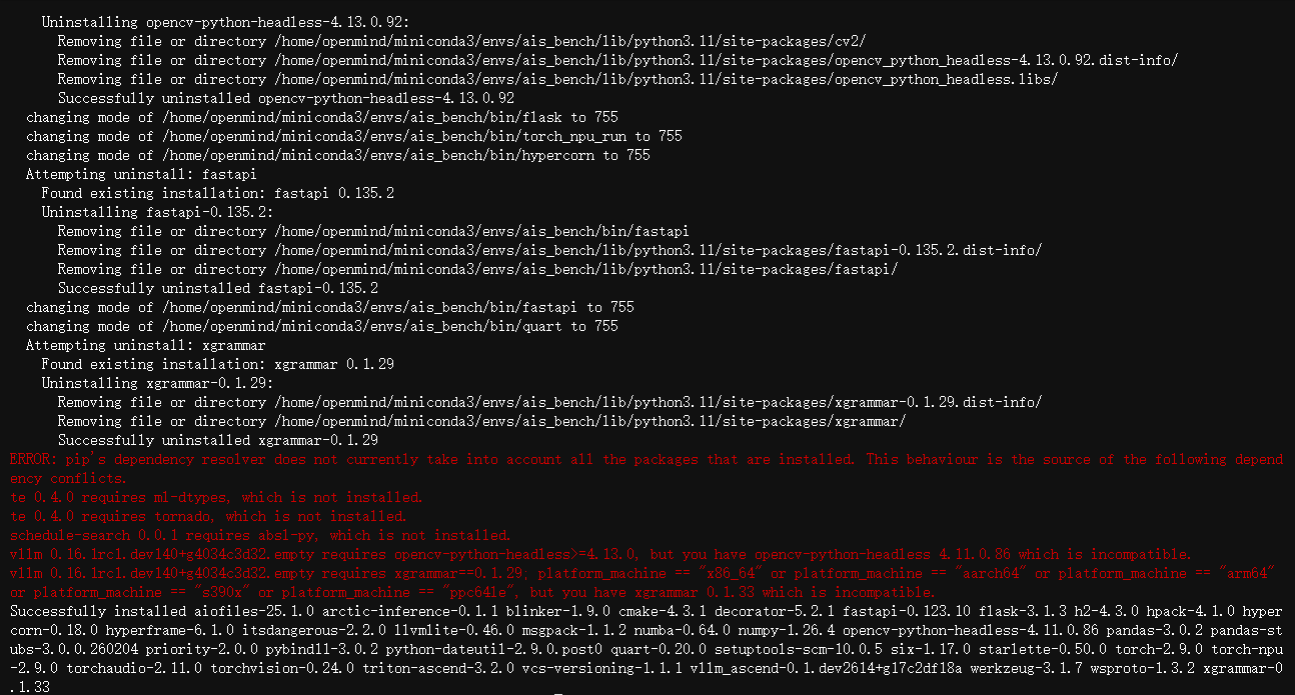
执行命令:pip install -v -e . ,安装vllm-ascend软件包
1.7 安装量化工具
执行命令:cd ~ , 进入当前用户所在根目录
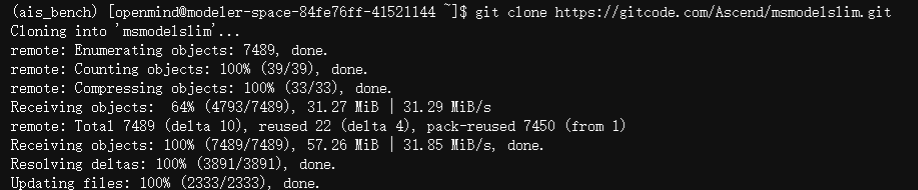
执行命令:git clone https://gitcode.com/Ascend/msmodelslim.git ,下载昇腾模型压缩工具源码
执行命令:cd msmodelslim , 进入到项目工程文件夹
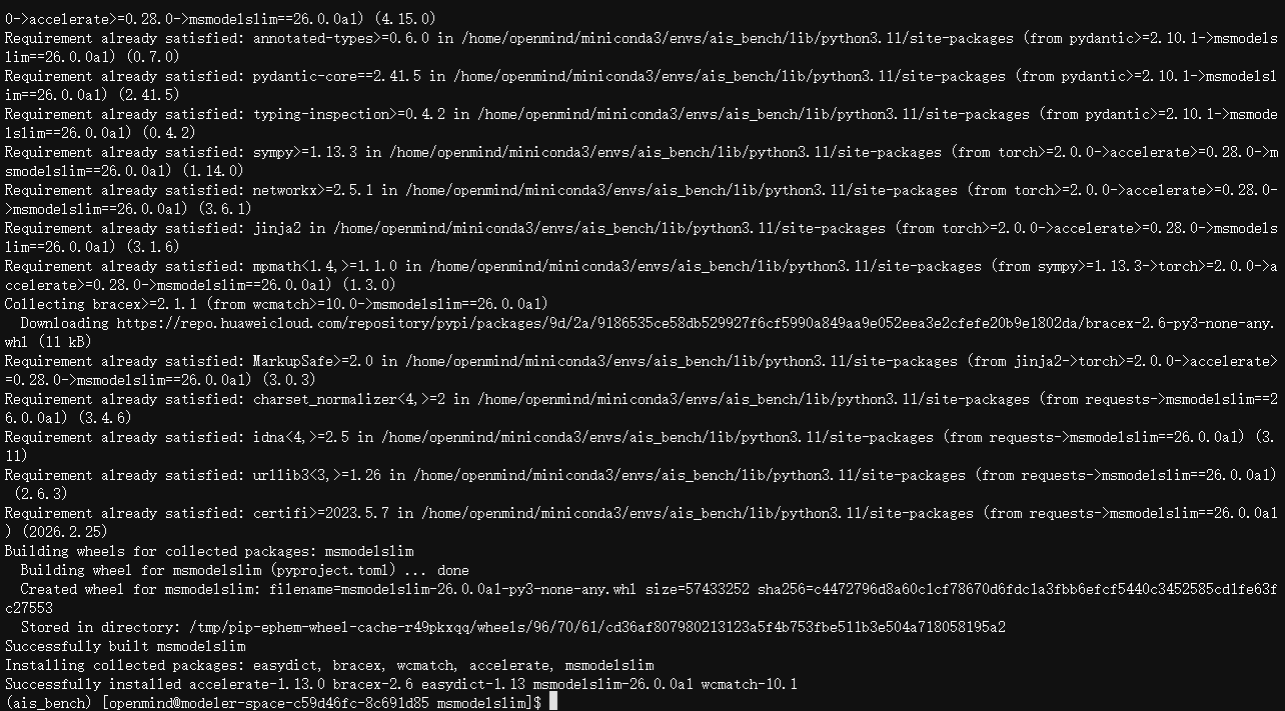
执行命令:bash install.sh ,完成工具的安装
注意:为了将包路径添加至环境变量中,需要执行以下命令,使其生效
export PATH="/home/openmind/.local/bin:$PATH"
export PATH="/usr/local/bin:$PATH"
四、模型量化
1. 模型权重下载
执行命令:cd ~ ,进入到用户所在根目录
执行命令:git clone https://modelers.cn/Modelers_Park/Qwen3-Next-80B-A3B-Instruct.git ,以下载模型权重文件
2. 敏感层分析(可省略)
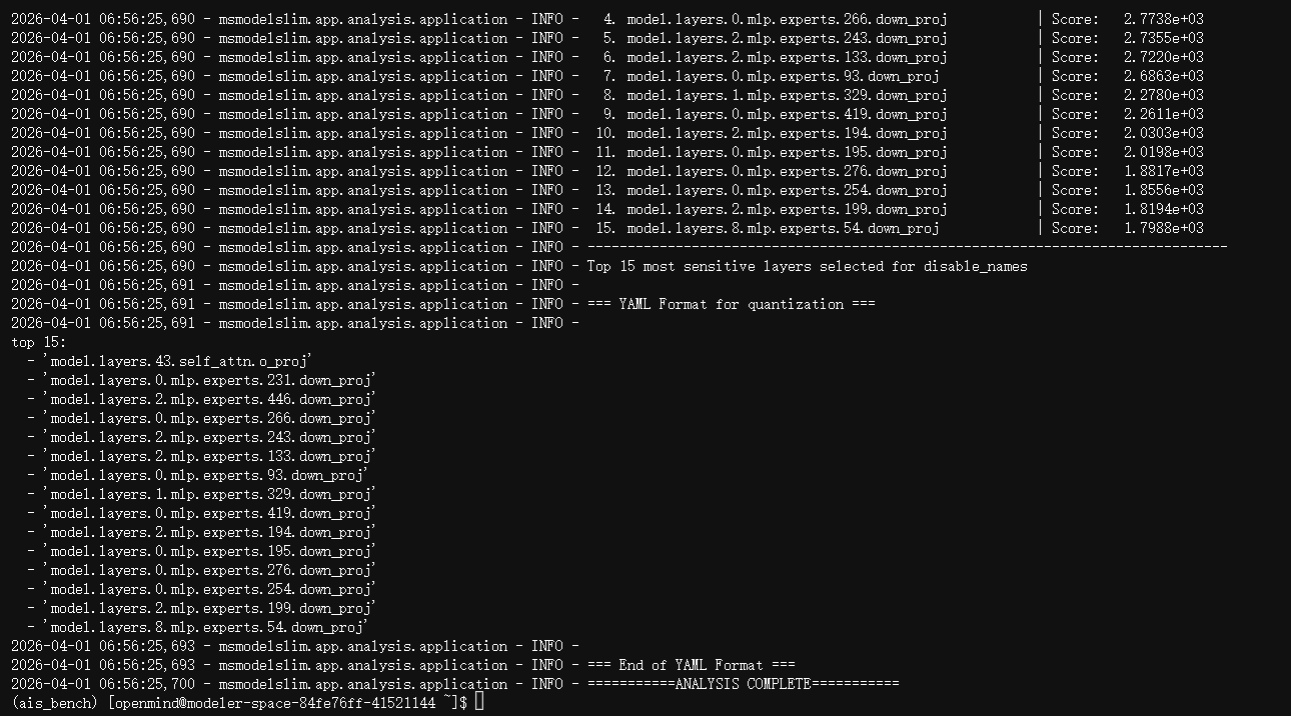
执行命令:msmodelslim analyze --model_type Qwen3-Next-80B-A3B-Instruct --model_path /home/openmind/Qwen3-Next-80B-A3B-Instruct --device npu --metrics kurtosis --calib_dataset /home/openmind/msmodelslim/lab_calib/mix_calib.jsonl --pattern "*mlp.experts*" "*linear_attn.in_proj_qkvz*" "*self_attn*" --topk 15 --trust_remote_code True , 以评估模型各层对量化的敏感程度
3. 编辑配置文件
执行命令:cp ~/msmodelslim/lab_practice/deepseek_v3_2/deepseek_w4a8.yaml ~/ ,复制样例配置文件到用户所在目录
执行命令:mv deepseek_w4a8.yaml qwen3_next_80b_a3b_w4a8_mine.yaml ,将配置文件修改为指定名称

执行命令:vim qwen3_next_80b_a3b_w4a8_mine.yaml ,进入文件编辑模式
将文件内容修改如下所示:
apiversion: modelslim_v1
metadata:
  config_id: qwen3_next_80b_a3b_w4a8
  score: 90
  verified_model_types:
    - Qwen3-Next-80B-A3B-Instruct
  label:
    w_bit: 4
    a_bit: 8
    is_sparse: False
    kv_cache: False
default_w8a8_dynamic: &default_w8a8_dynamic
  act:
    scope: "per_token"
    dtype: "int8"
    symmetric: True
    method: "minmax"
  weight:
    scope: "per_channel"
    dtype: "int8"
    symmetric: True
    method: "minmax"
default_w4a8_dynamic: &default_w4a8_dynamic
  act:
    scope: "per_token"
    dtype: "int8"
    symmetric: True
    method: "minmax"
  weight:
    scope: "per_channel"
    dtype: "int4"
    symmetric: True
    method: "ssz"
spec:
  process:
    - type: "flex_smooth_quant"
      enable_subgraph_type:
        - 'norm-linear'
      include:
        - '*'
    - type: "group"
      configs:
        # Full attention layers: W8A8
        - type: "linear_quant"
          qconfig: *default_w8a8_dynamic
          include: ["*self_attn*"]
          exclude:
            - "*self_attn.o_proj*"
            - "model.layers.43.self_attn.o_proj"   # 排除高敏感 self_attn.o_proj
        # Linear attention in_proj: W8A8
        - type: "linear_quant"
          qconfig: *default_w8a8_dynamic
          include: ["*linear_attn.in_proj_qkvz*"]
          # 无排除
        # MoE experts: W4A8,但整层排除敏感层
        - type: "linear_quant"
          qconfig: *default_w4a8_dynamic
          include: ["*mlp.experts*"]
          exclude:
            # 整层排除包含高敏感专家的层(所有专家保持FP16)
            - "model.layers.0.mlp.experts*"
            - "model.layers.2.mlp.experts*"
        - type: "linear_quant"
          qconfig: *default_w8a8_dynamic
          include: ["*mlp.experts*"]
  save:
    - type: "ascendv1_saver"
      part_file_size: 4
4. 执行量化
执行命令:LOGFILE="quant_2npu_$(date +%Y%m%d_%H%M%S).log" ,定义一个生成日志文件的变量
执行命令:echo "Starting 2-NPU distributed quantization at $(date)" | tee -a "$LOGFILE" ,在日志文件中写入开始时间
执行命令:export ASCEND_RT_VISIBLE_DEVICES=0,1 ,指定参与计算的设备编号

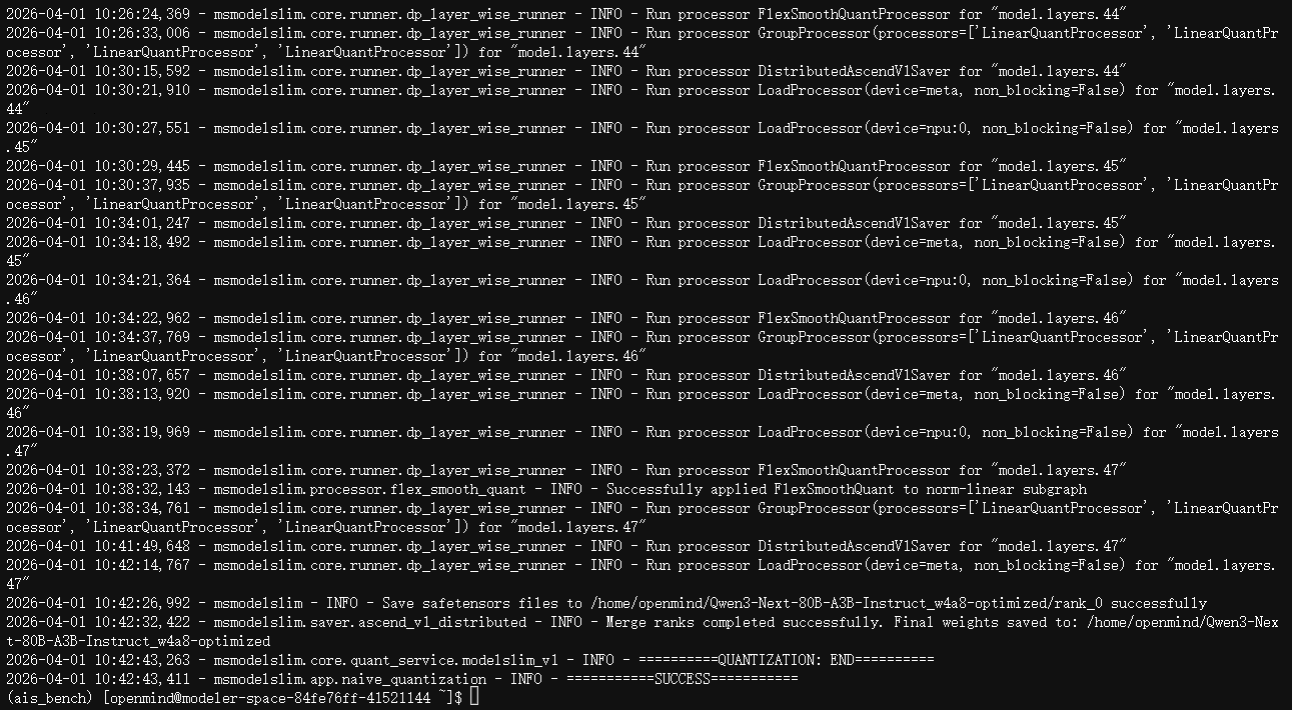
执行命令:msmodelslim quant --model_type Qwen3-Next-80B-A3B-Instruct --model_path /home/openmind/Qwen3-Next-80B-A3B-Instruct --save_path /home/openmind/Qwen3-Next-80B-A3B-Instruct_w4a8-optimized --config_path /home/openmind/qwen3_next_80b_a3b_w4a8_mine.yaml --device npu:0,1 --trust_remote_code True 2>&1 | tee -a "$LOGFILE" ,对模型进行量化,过程需花费3个小时,结尾出现“SUCCESS”时,则证明量化成功
五、模型服务运行
1. 安装依赖包
执行命令:pip install torchaudio==2.9.0 ,安装指定pytorch版本
执行以下命令,重新安装trition-ascend软件包
pip uninstall triton
pip uninstall triton-ascend
pip install triton-ascend -i https://repo.huaweicloud.com/repository/pypi/simple
执行以下命令,设置环境变量信息
export ASCEND_RT_VISIBLE_DEVICES=0,1
export PYTORCH_NPU_ALLOC_CONF=expandable_segments:True
export HCCL_OP_EXPANSION_MODE="AIV"
export OMP_PROC_BIND=false
export OMP_NUM_THREADS=100
export VLLM_USE_V1=1
export HCCL_BUFFSIZE=200
设置量化后的模型目录,量化后的模型目录替换为自己的
MODEL_PATH="/home/openmind/Qwen3-Next-80B-A3B-Instruct_w4a8-optimized"
执行命令:cd ~/vllm ,进入vllm源文件所在目录
执行以下命令,运行模型服务
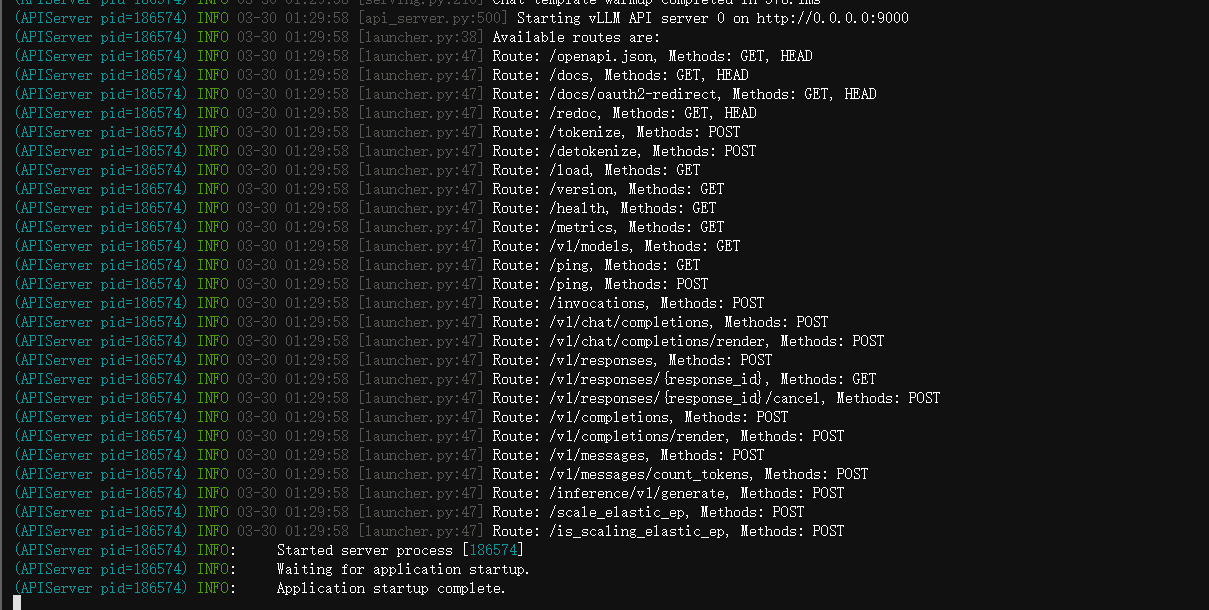
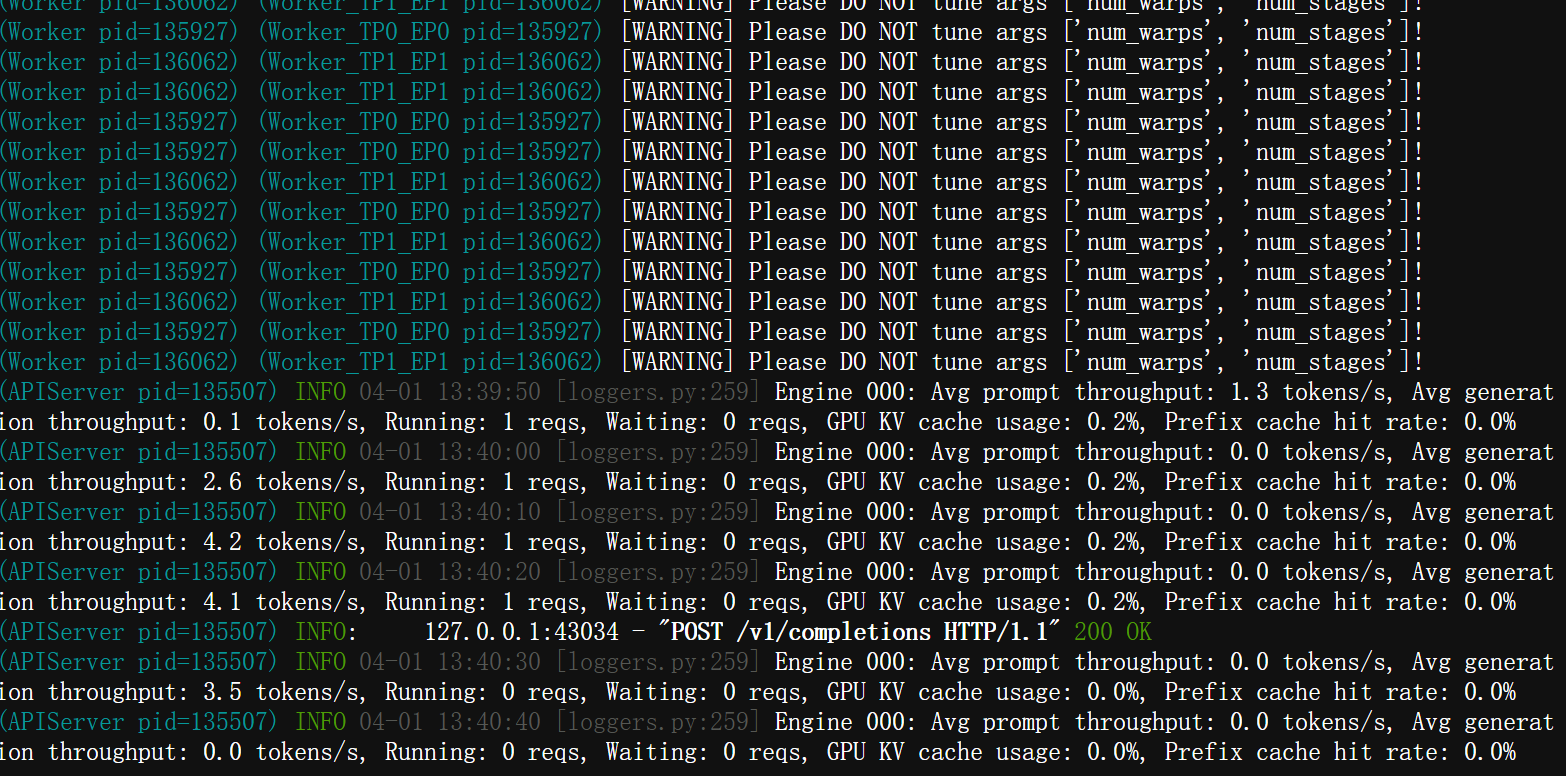
vllm serve ${MODEL_PATH} -tp 2 -dp 1 --enable-expert-parallel --quantization ascend --served-model-name qwen3 --max-model-len 39000 --max-num-batched-tokens 39000 --gpu-memory-utilization 0.85 --enforce-eager --additional_config='{"ascend_scheduler_config":{"enable": true},"enable_weight_nz_layout": true}' --port 9000
2. 测试接口
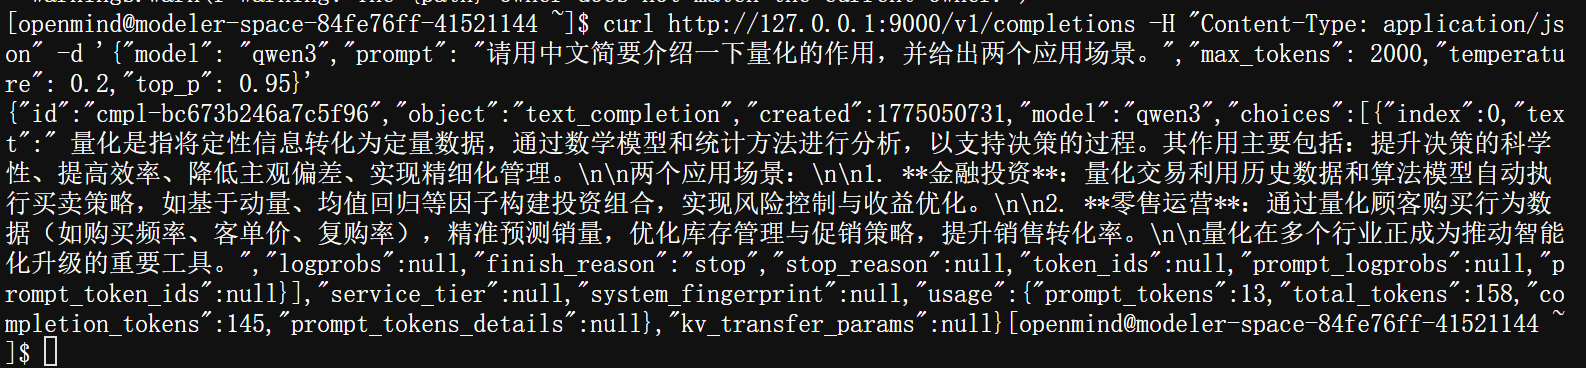
执行以下命令,测试模型服务接口是否能通,以及是否能够回答问题
curl http://127.0.0.1:9000/v1/completions -H "Content-Type: application/json" -d '{"model": "qwen3","prompt": "请用中文简要介绍一下量化的作用,并给出两个应用场景。","max_tokens": 2000,"temperature": 0.2,"top_p": 0.95}'
六、模型测评
1. 工具下载
执行命令:cd ~ ,进入用户所在目录
执行命令:git clone https://gitee.com/aisbench/benchmark.git ,下载benchmark测评工具源码

执行命令:cd benchmark ,进入项目工程文件
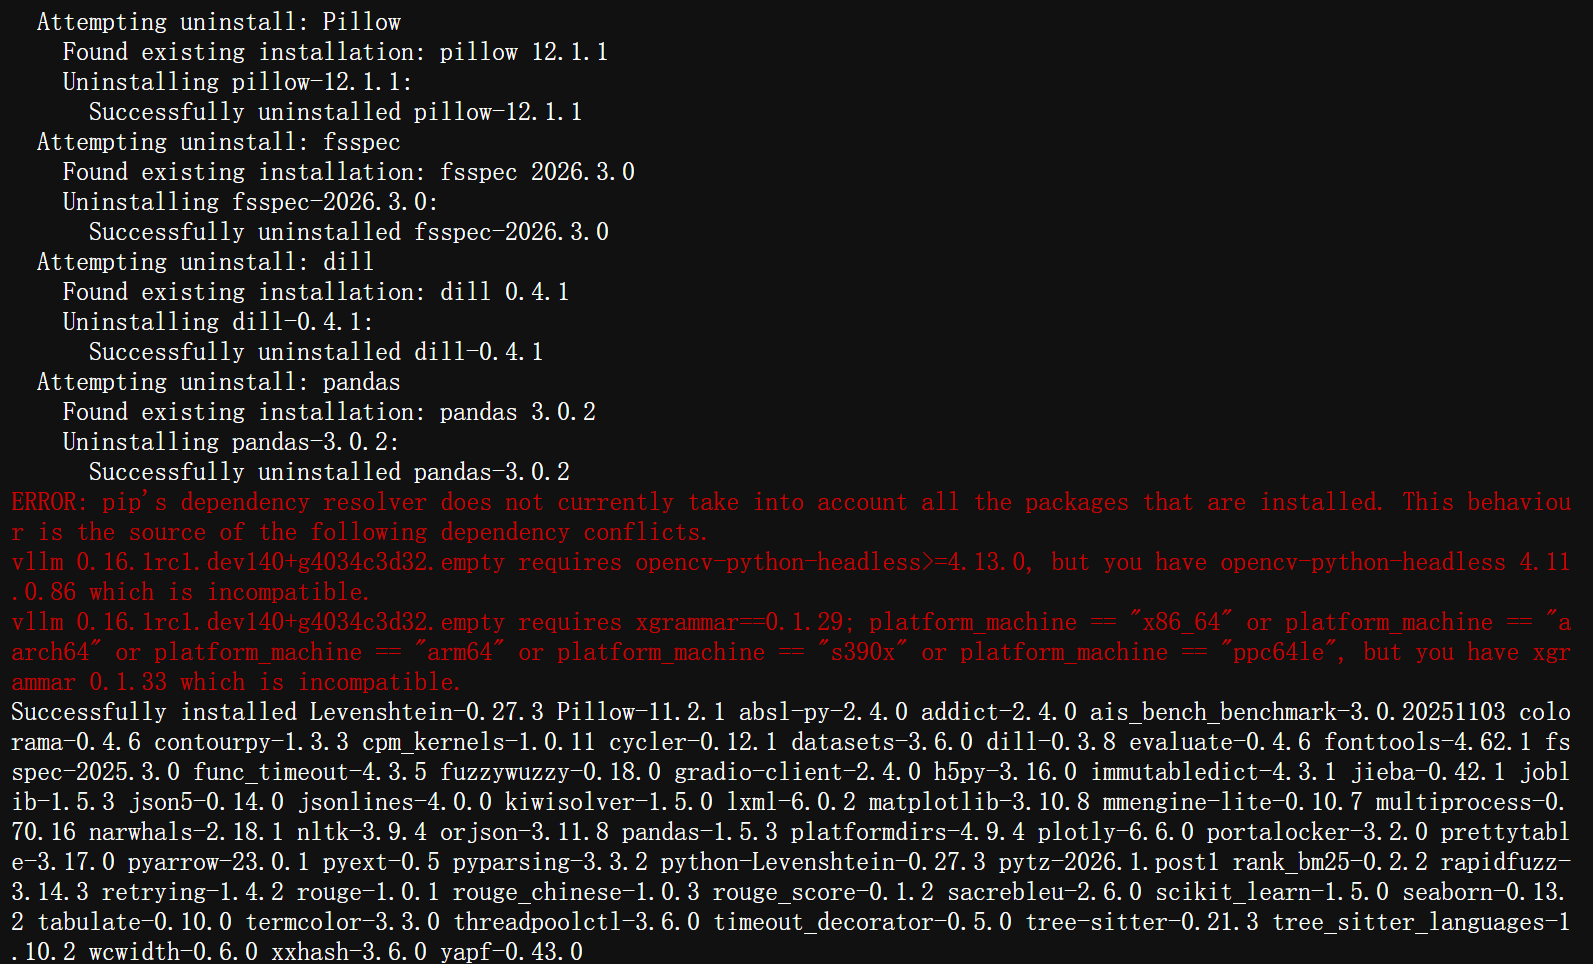
执行命令:pip3 install -e ./ --use-pep517 ,安装测评工具包
2. 数据集下载
执行命令:cd ais_bench/datasets ,进入到数据集所在目录
执行命令:mkdir aime/ ,创建新的文件夹
执行命令:cd aime/ ,进入到新创建的文件夹中
执行命令:wget http://opencompass.oss-cn-shanghai.aliyuncs.com/datasets/data/aime.zip ,下载数据集

执行命令:python3 -c "import zipfile; zipfile.ZipFile('aime.zip').extractall()" ,将下载的压缩包解压到当前目录

3. 编辑配置文件
执行命令:vim ~/benchmark/ais_bench/benchmark/configs/models/vllm_api/vllm_api_general_chat.py ,进入编辑模式,将文件内容替换成以下内容
参数说明:model(模型名称)、host_ip/host_port(监听地址、端口)、max_out_len(最大上下文长度)、batch_size(批处理大小)、generation_kwargs(采样策略)
from ais_bench.benchmark.models import VLLMCustomAPIChat
from ais_bench.benchmark.utils.model_postprocessors import extract_non_reasoning_content

models = [
    dict(
        attr="service",
        type=VLLMCustomAPIChat,
        abbr='vllm-api-general-chat',
        path="",
        model="qwen3",
        request_rate = 0,
        retry = 2,
        host_ip = "localhost",
        host_port = 9000,
        max_out_len = 32768,
        batch_size=16,
        trust_remote_code=False,
        generation_kwargs = dict(
            temperature = 0.5,
            top_k = 10,
            top_p = 0.95,
            seed = None,
            repetition_penalty = 1.03,
        ),
        pred_postprocessor=dict(type=extract_non_reasoning_content)
    )
]
执行以下命令,设置环境变量,将包路径添加到环境变量中
export PATH="/home/openmind/.local/bin:$PATH"
export PATH="/usr/local/bin:$PATH"
4. 测评与优化
执行以下命令,对模型进行测评
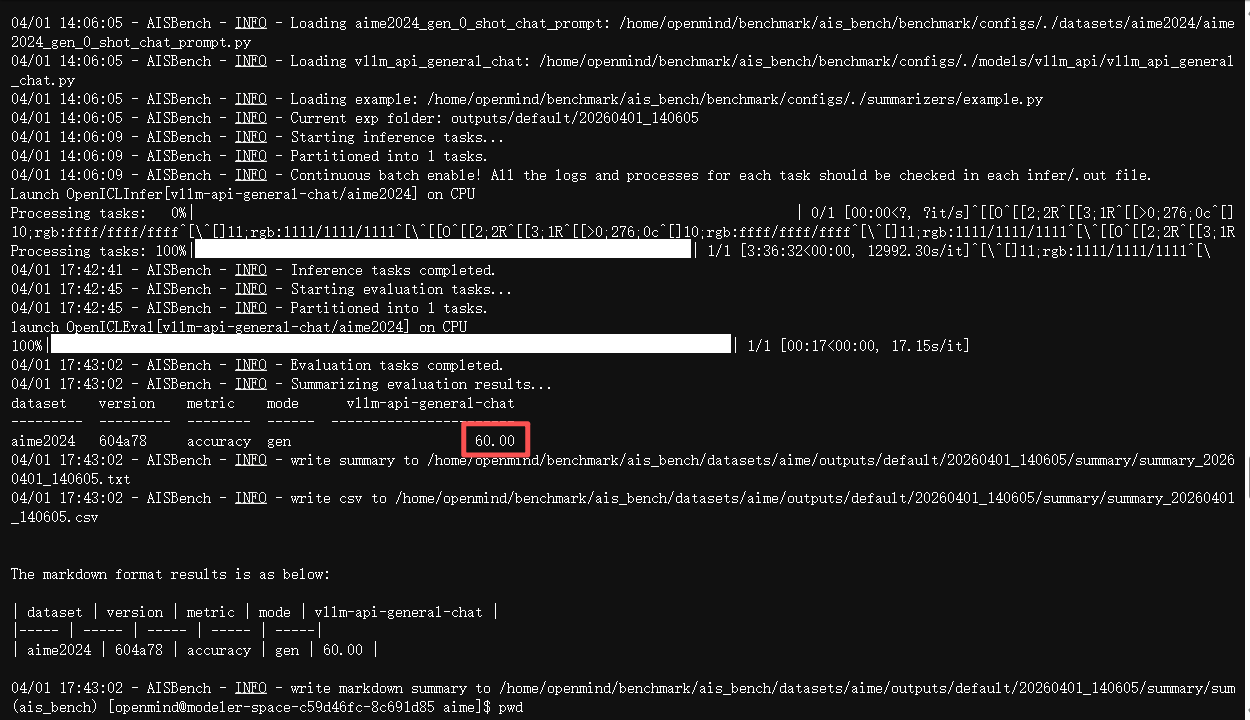
ais_bench --models vllm_api_general_chat --datasets aime2024_gen_0_shot_chat_prompt --summarizer example
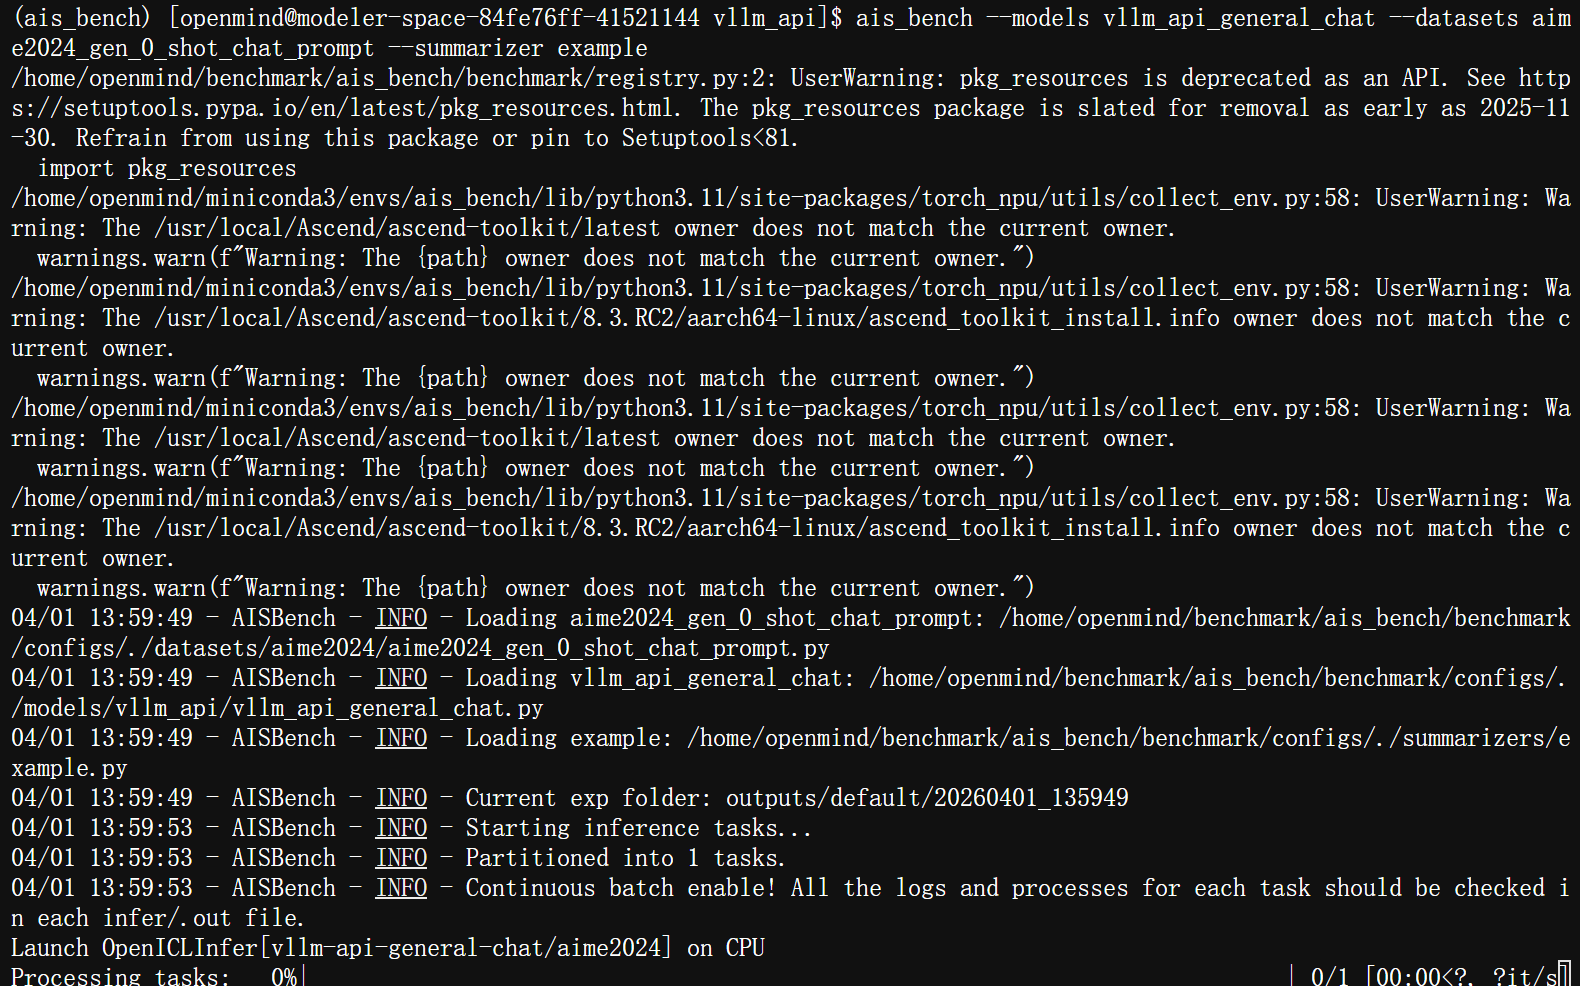
执行命令:cd ~/benchmark/ais_bench/benchmark/configs/models/vllm_api/outputs/default/20260401_135949/summary,进入测评结果生成目录
注意:该目录中的日期文件夹,取最新生成的
执行命令:cat summary_20260401_140605.txt ,可查看结果分数。
优化
在适配器中添加离群值抑制算法
执行命令:cd ~/msmodelslim/msmodelslim/model/qwen3_next ,进入量化工具模型目录
执行命令:vim model_adapter.py ,进入文件编辑模式,修改model_adapter.py 中离群值适配接口get_adapter_config_for_subgraph,补充对于qwen3_next模型的OV子图或UP-DOWN子图配置
执行命令:cd ~/msmodelslim ,进入量化工具根目录
执行命令:pip install -e . ,重新安装量化工具包
七、模型上传
1. 创建模型库
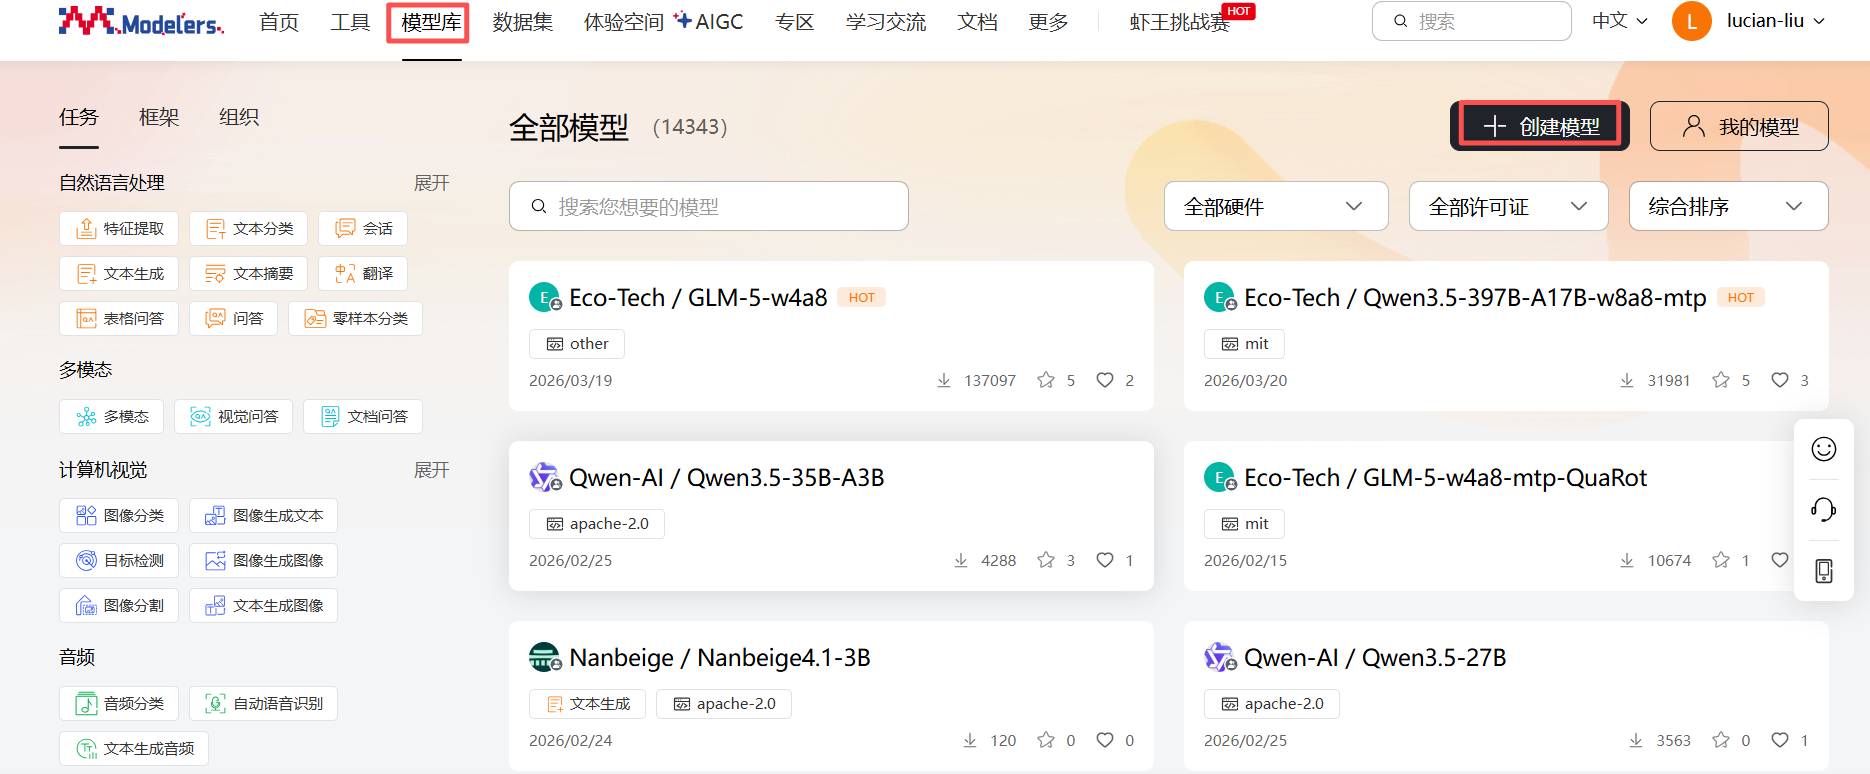
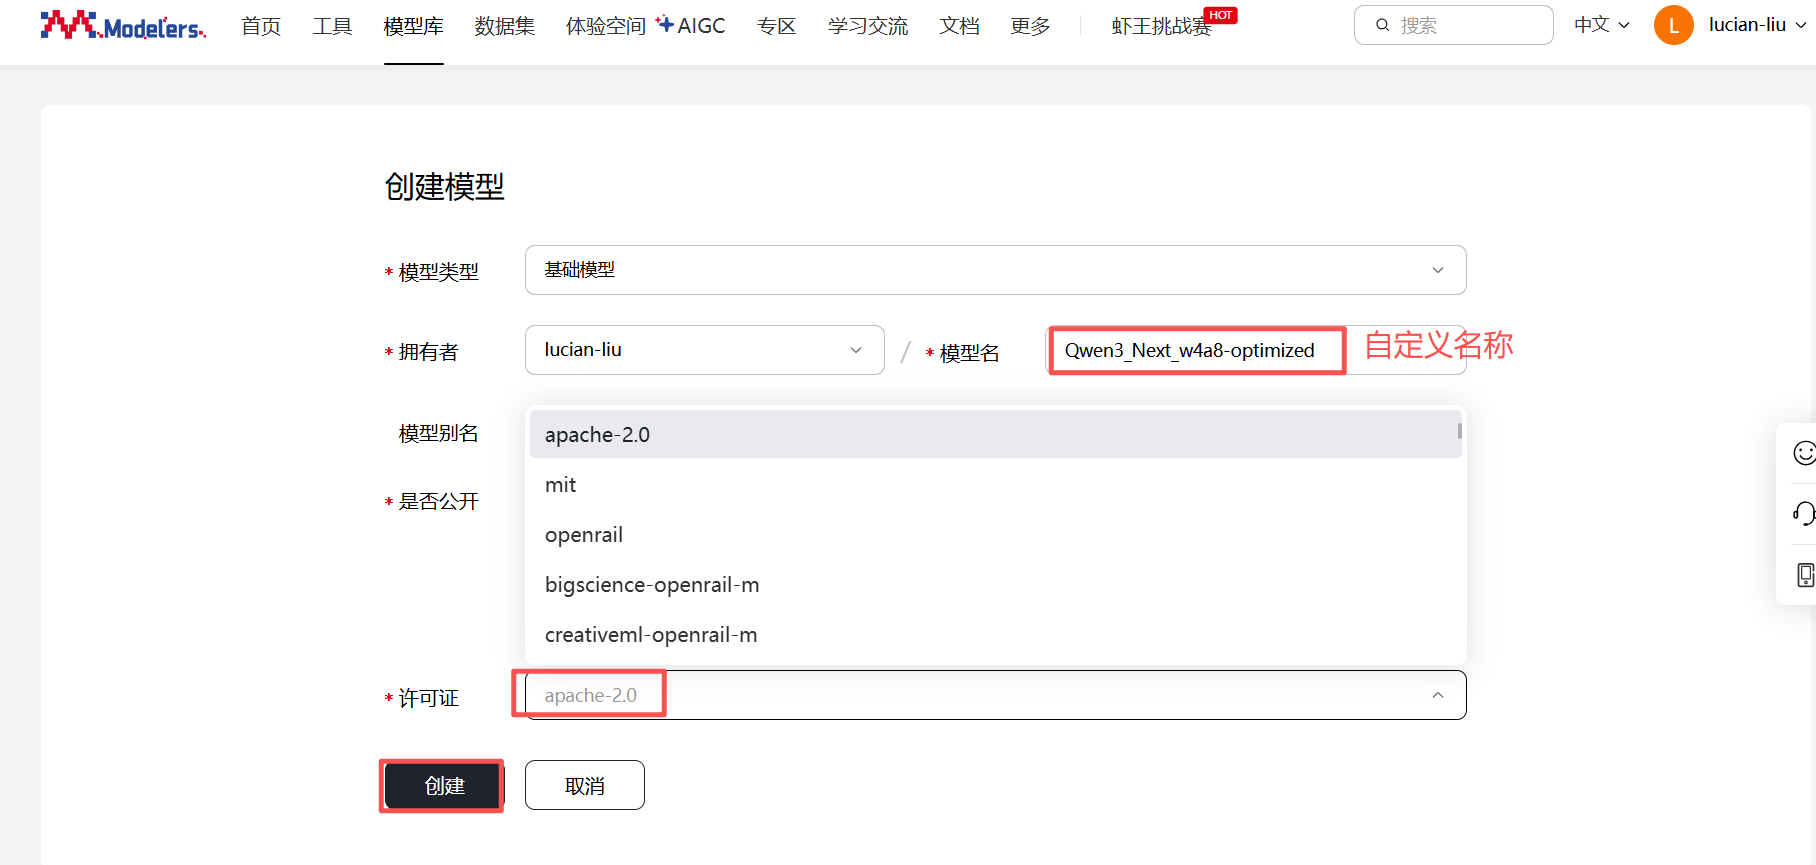
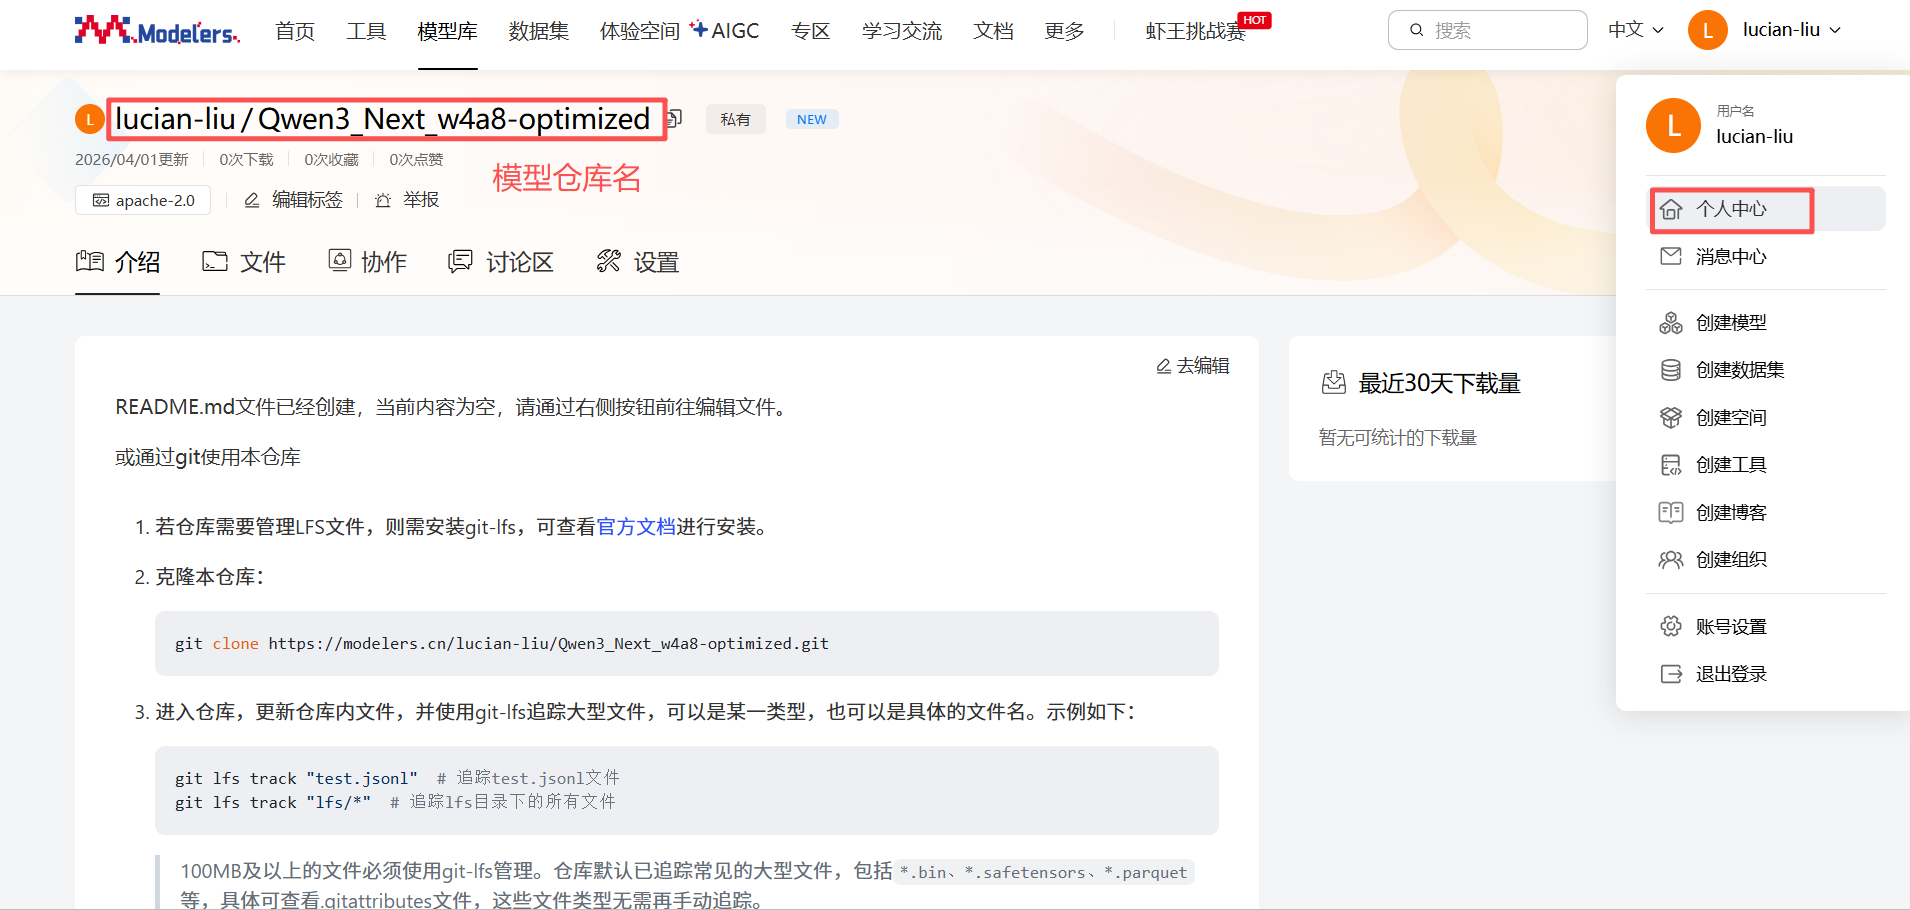
点击”模型库“ -> "创建模型",依次输入模型名和许可证,点击“创建”
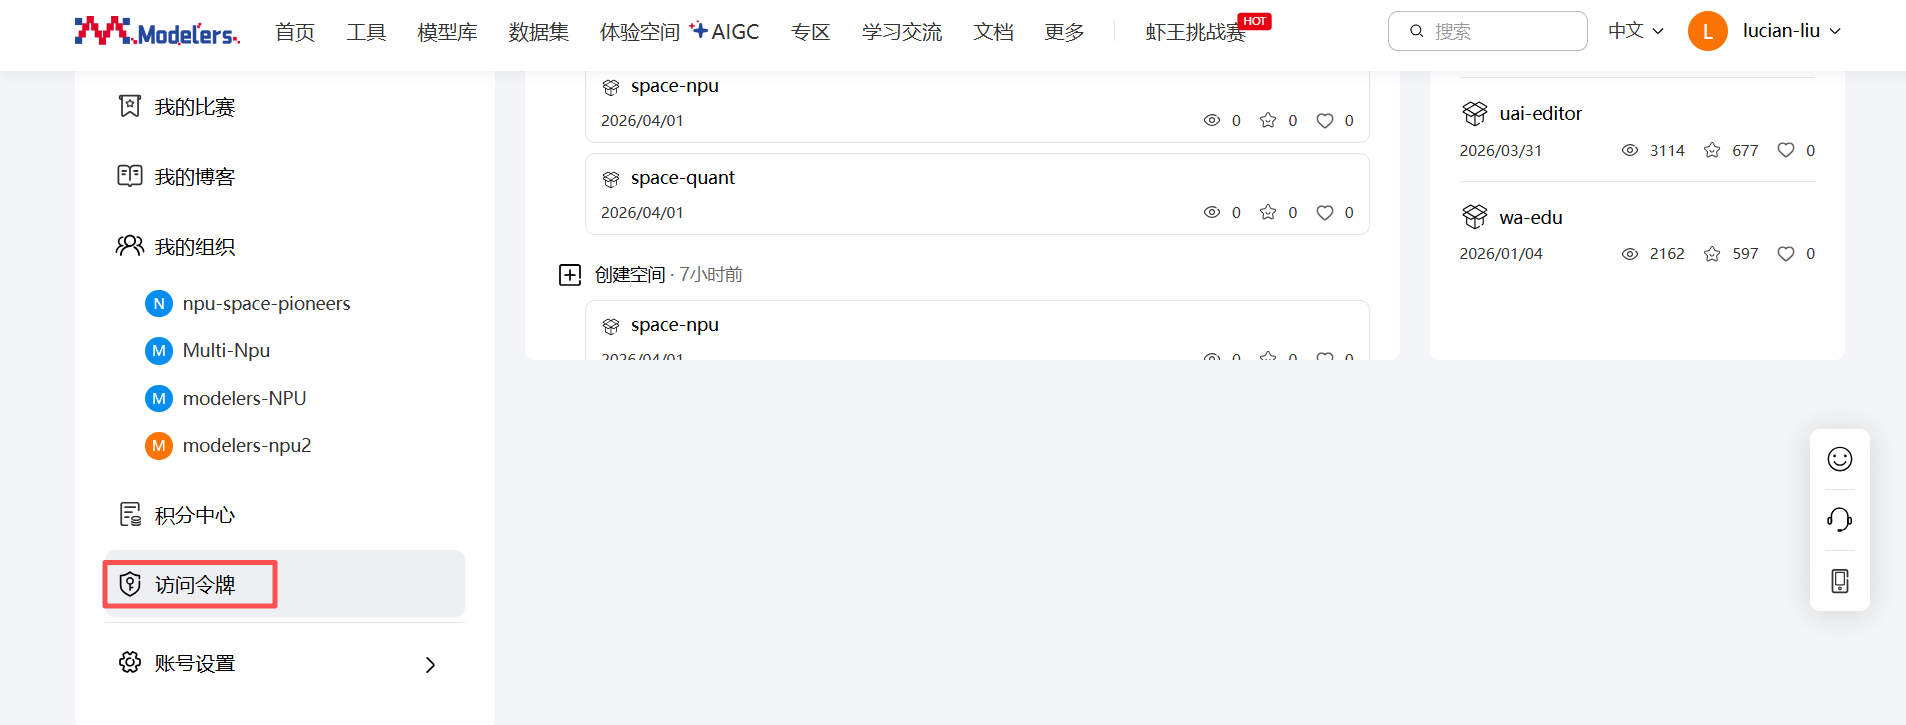
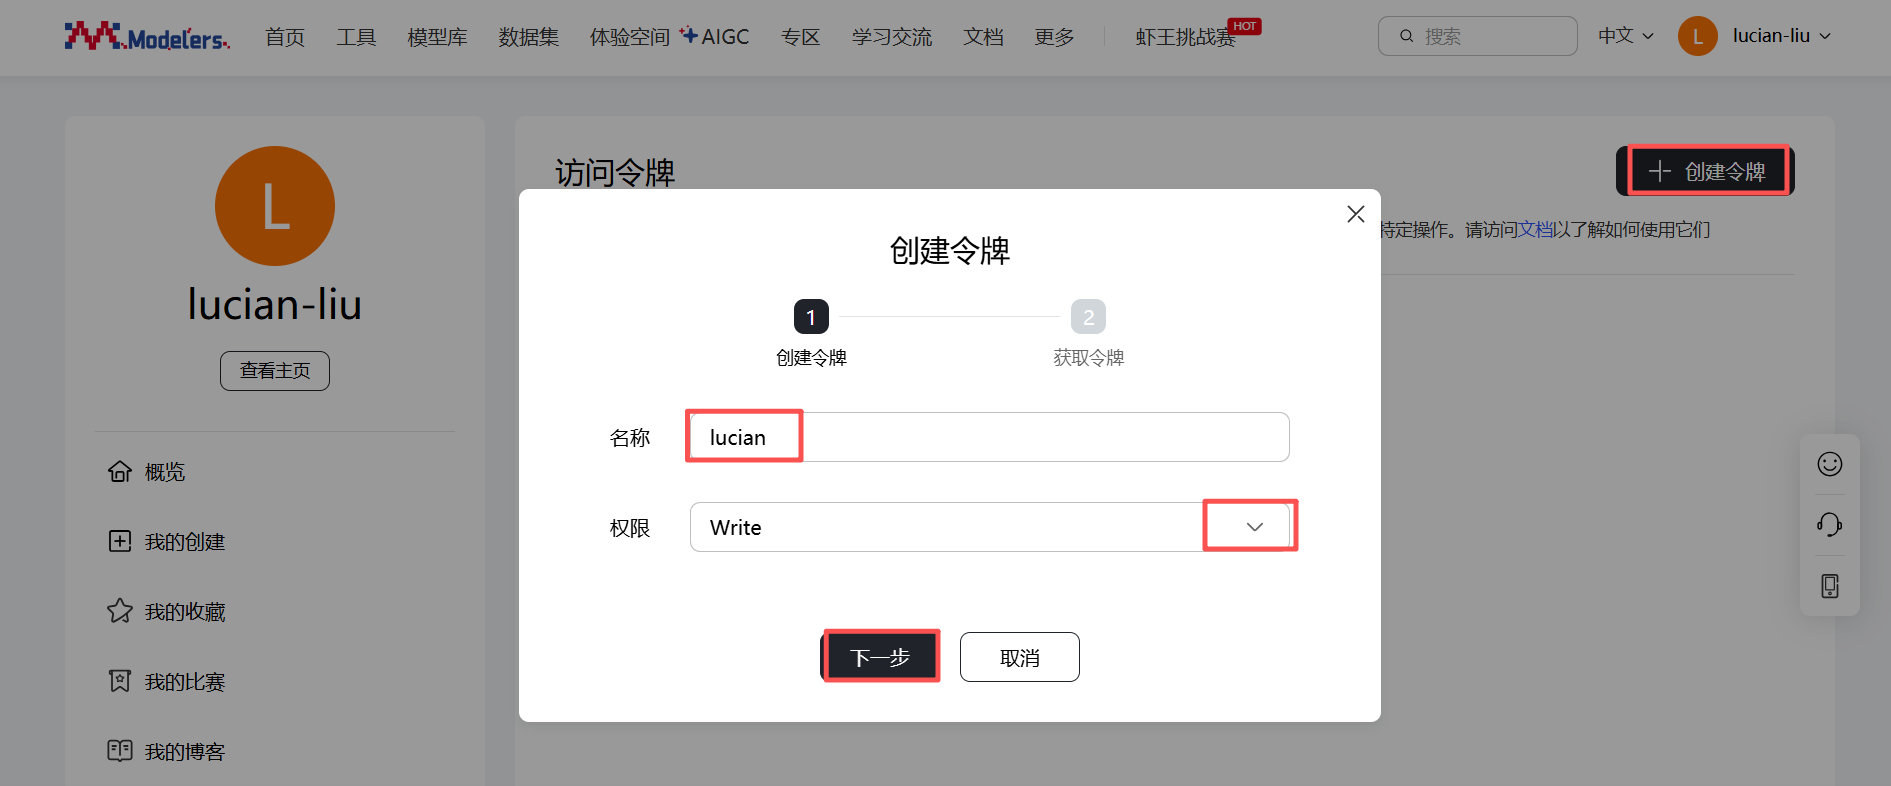
依次点击“个人中心” -> “访问令牌” -> "创建令牌",输入“名称”和“权限”后,点击“下一步”,复制并保存生成的令牌,勾选“我了解令牌不再显示在平台上,已复制保存好该令牌”,点击“确定”

2. 安装依赖
执行命令:pip install openmind_hub ,安装依赖包
3.创建并执行上传脚本
执行命令:vim pull.py ,进入文件编辑模式
复制以下内容到pull.py,其中模型目录、token(访问令牌)和仓库要换成自己的
import os
from openmind_hub import upload_file
import shutil
import math

def smart_batch_upload():
    token = "" #访问令牌
    repo_id = ""#仓库
    base_folder = r"" #模型目录

    # 收集所有文件信息
    file_info = []
    total_size = 0

    for root, dirs, files in os.walk(base_folder):
        for file in files:
            file_path = os.path.join(root, file)
            rel_path = os.path.relpath(file_path, base_folder)
            size = os.path.getsize(file_path)
            file_info.append({
                'path': file_path,
                'rel_path': rel_path,
                'size': size
            })
            total_size += size

    print(f"总文件数: {len(file_info)}")
    print(f"总大小: {total_size / (1024**3):.2f} GB")

    # 按大小排序
    file_info.sort(key=lambda x: x['size'], reverse=True)

    # 分批策略:每批不超过100个文件或2GB
    batch_size_limit = 100  # 文件数量
    batch_volume_limit = 2 * 1024**3  # 2GB
    batches = []
    current_batch = []
    current_batch_size = 0

    for file in file_info:
        if (len(current_batch) >= batch_size_limit or
                current_batch_size + file['size'] > batch_volume_limit):
            batches.append(current_batch.copy())
            current_batch = []
            current_batch_size = 0

        current_batch.append(file)
        current_batch_size += file['size']

    if current_batch:
        batches.append(current_batch)

    print(f"分为 {len(batches)} 批上传")

    # 分批上传
    for i, batch in enumerate(batches, 1):
        print(f"\n上传第 {i}/{len(batches)} 批 ({len(batch)}个文件)...")

        # 创建临时文件夹
        temp_dir = f"/tmp/batch_{i}"
        os.makedirs(temp_dir, exist_ok=True)
        # 复制文件到临时文件夹
        for file in batch:
            dest_path = os.path.join(temp_dir, file['rel_path'])
            os.makedirs(os.path.dirname(dest_path), exist_ok=True)
            shutil.copy2(file['path'], dest_path)

        try:
            # 上传整个临时文件夹
            from openmind_hub import upload_folder
            upload_folder(
                token=token,
                folder_path=temp_dir,
                repo_id=repo_id,
            )
            print(f"✓ 第 {i} 批上传成功")
        except Exception as e:
            print(f"✗ 第 {i} 批上传失败: {e}")
            # 可以选择继续或中断
            continue
        finally:
            # 清理临时文件
            shutil.rmtree(temp_dir, ignore_errors=True)

# 执行智能分批上传
smart_batch_upload()执行命令:python pull.py ,运行模型上传脚本

相关链接
官网:https://modelers.cn/
文档:https://modelers.cn/docs
空间:https://modelers.cn/spaces
项目仓库:https://gitcode.com/Ascend/msmodelslim.git
在使用过程中,有任何问题都可以通过以上链接找寻答案,或者联系我。